This guide outlines the onboarding process for the Sublium plugin. Follow these steps to get your store set up and ready to accept subscription payments.
Step 1: Install Sublium and Payment Gateways
- Install the Sublium plugin on your site.
- Ensure the Stripe Payment Gateway for WooCommerce by FunnelKit, Square, or PayPal payment gateway is installed also installed on your site. For instructions, check our payment gateway guides.
Step 2: Create Your First Subscription Plan
- On the Onboarding Screen, click to create your first subscription plan.
- Enter a Plan Name.
- Select a Plan Type:
- Recurring
- Subscribe and Save
- Installments
- For this guide, we are selecting Recurring.
- Set the Billing Frequency
- Set Interval (Every): You can choose days, weeks, months, and years
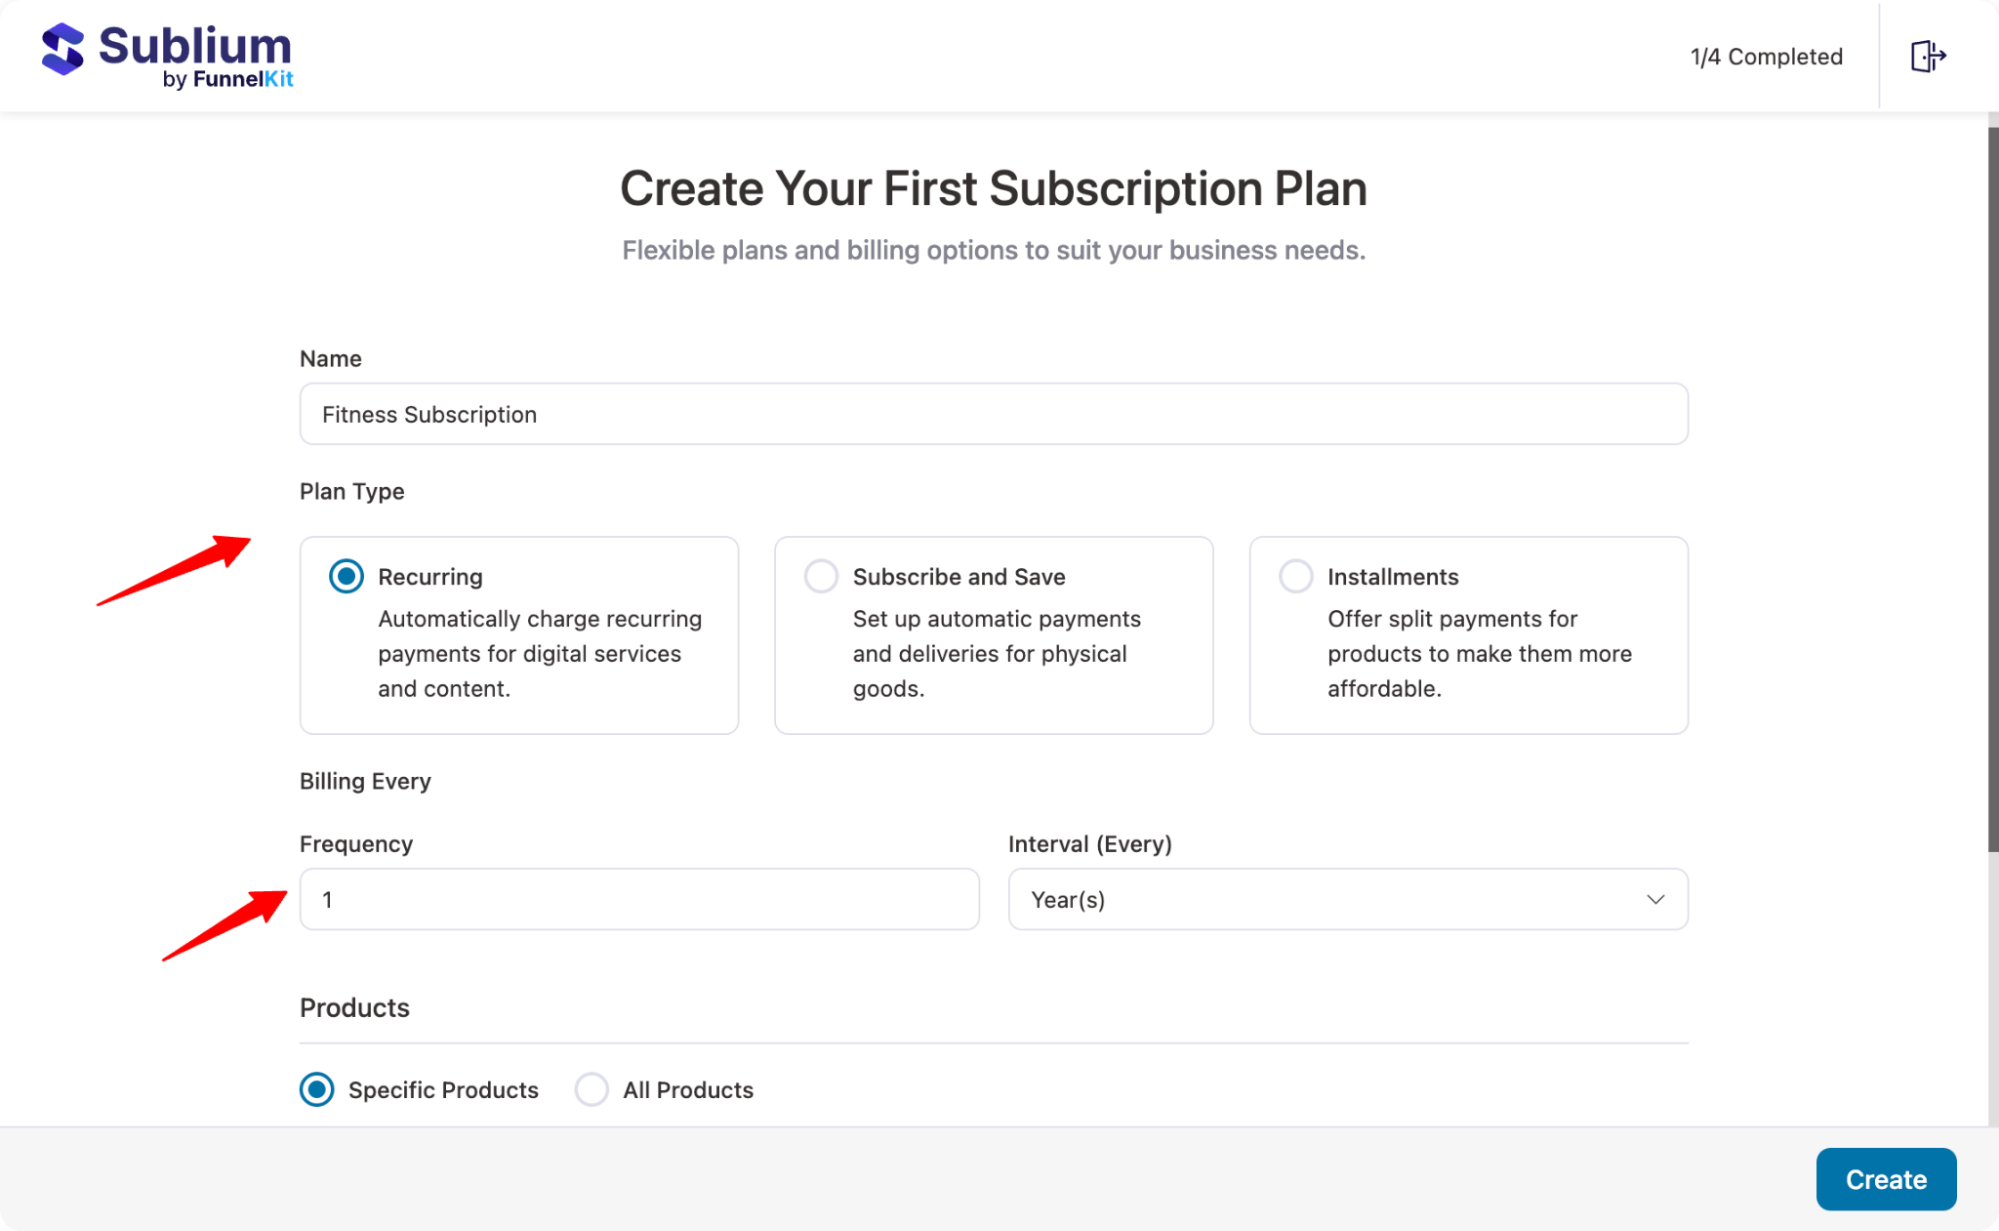
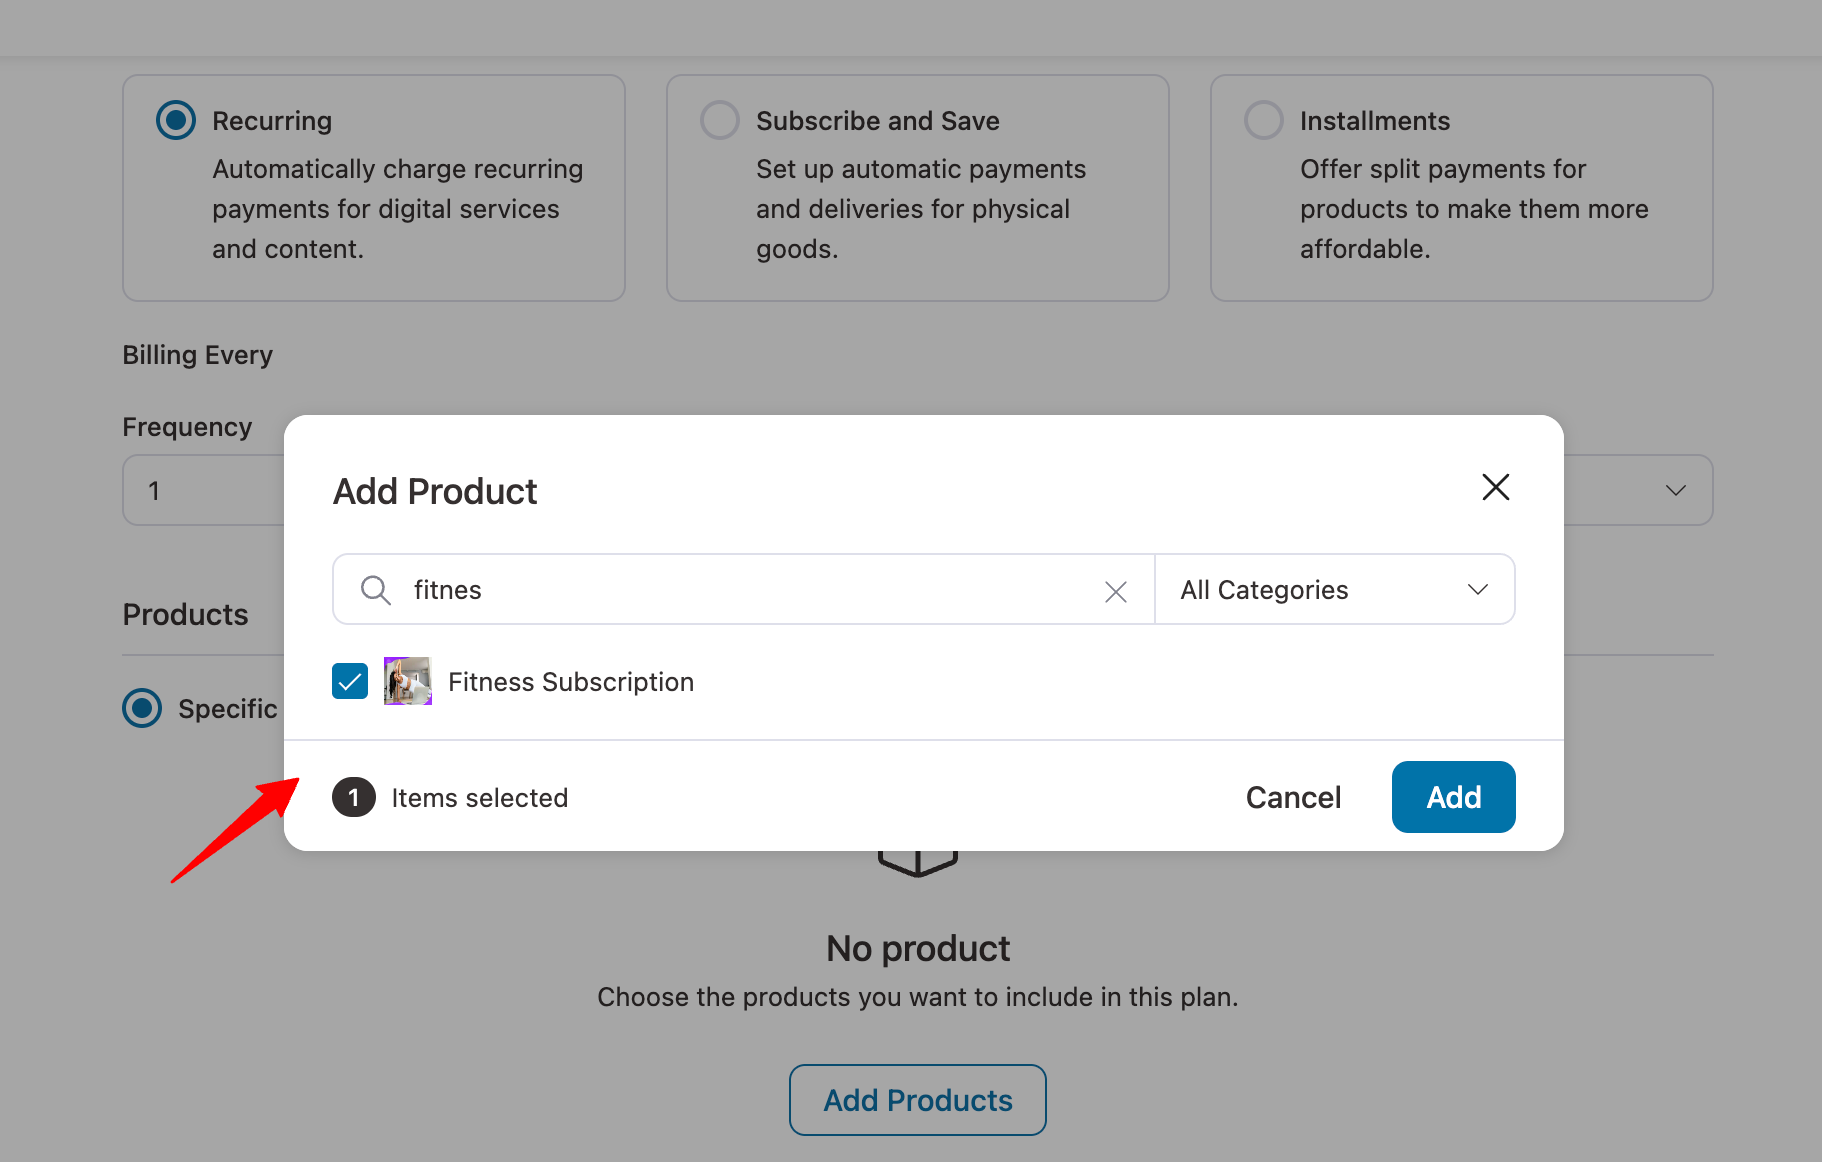
You can create a plan for all products or select the Products that will be part of this subscription plan. Easily search, check, and add.
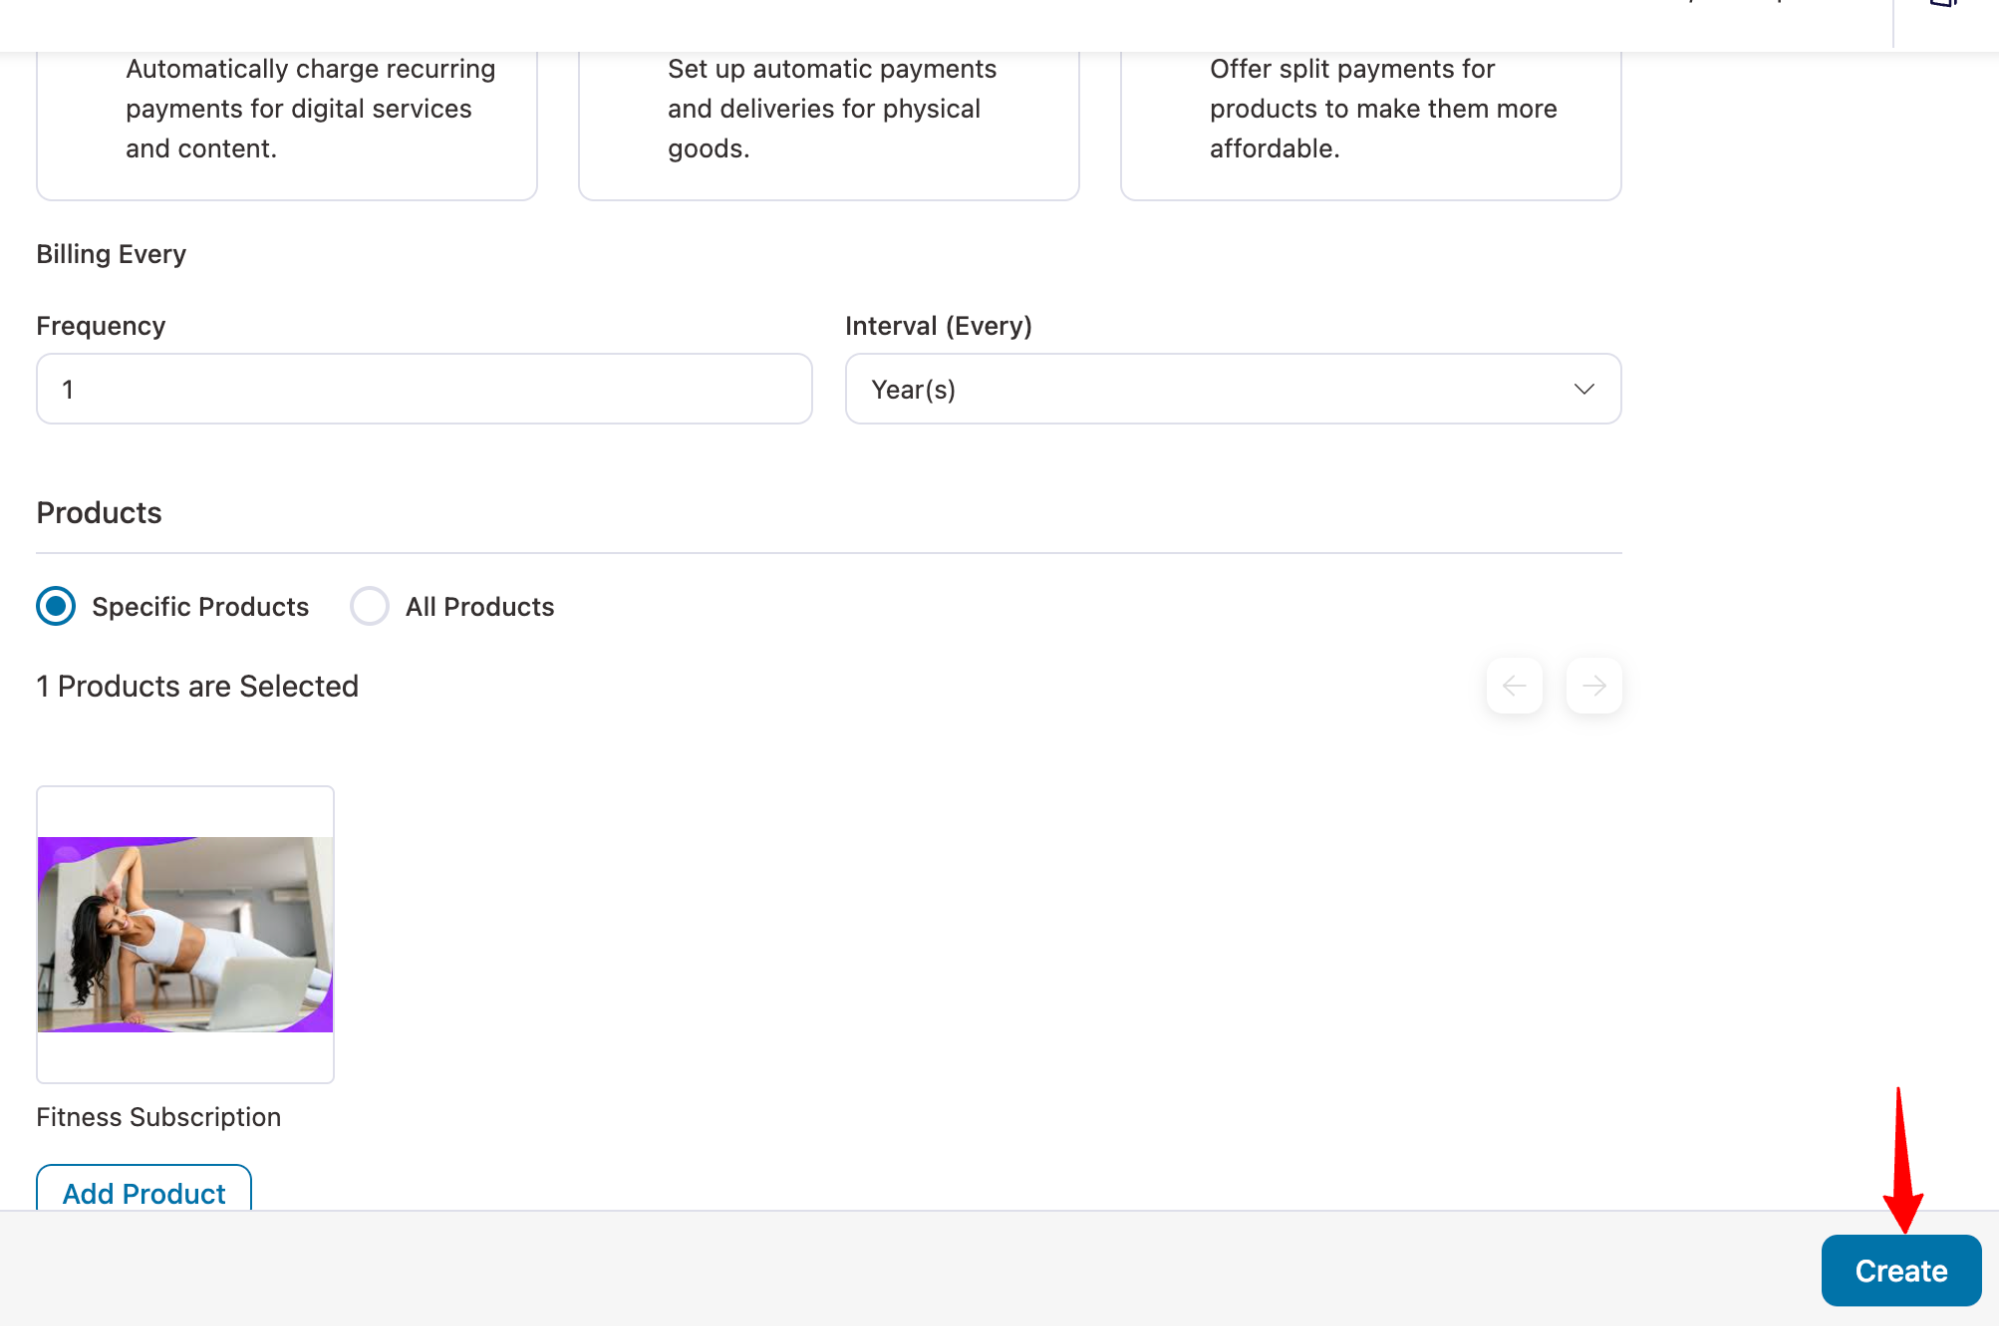
After that, click on the Create button to proceed to the next page.
Step 3: Set Up Payment Gateway for Subscriptions
On the next page, you will be asked to set up your payment gateway for subscription transactions. For this guide, we will select the Stripe Payment Gateway and click Continue.

Step 4: Complete the Onboarding Process
Next, add the email address to receive updates from the team and tips to create high-converting subscriptions.

Next, if your payment gateway is not connected, you will be asked to do so.
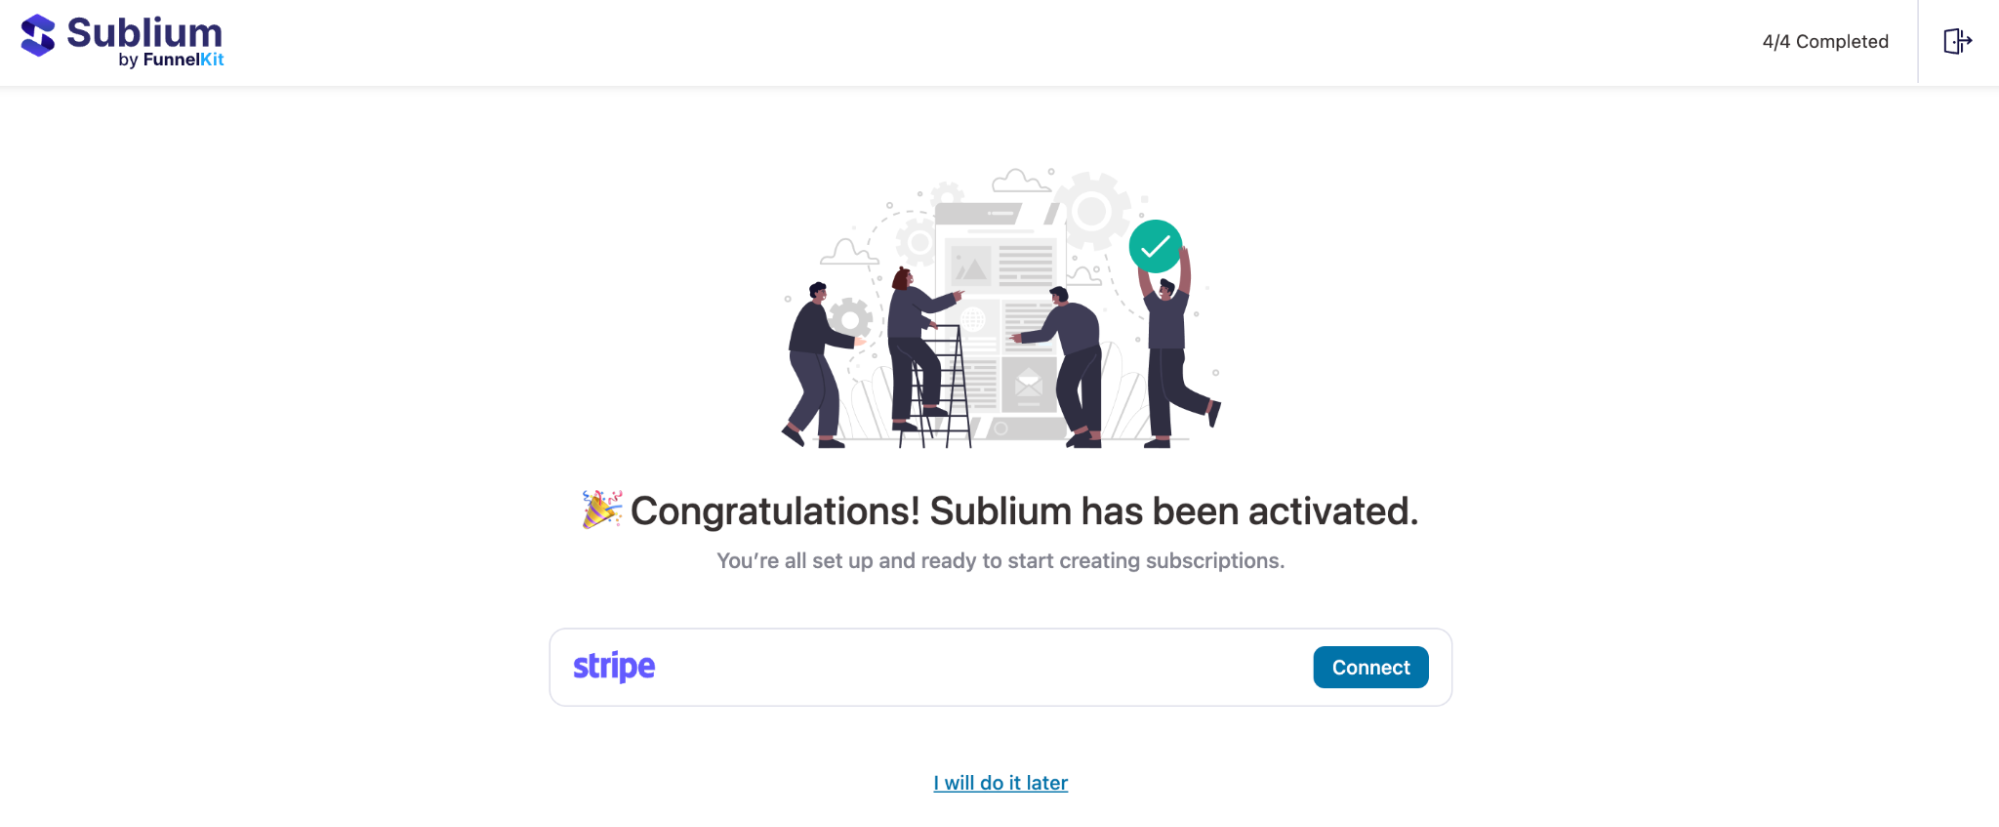
For more details, check our documentation on Connect to Payment Gateways.
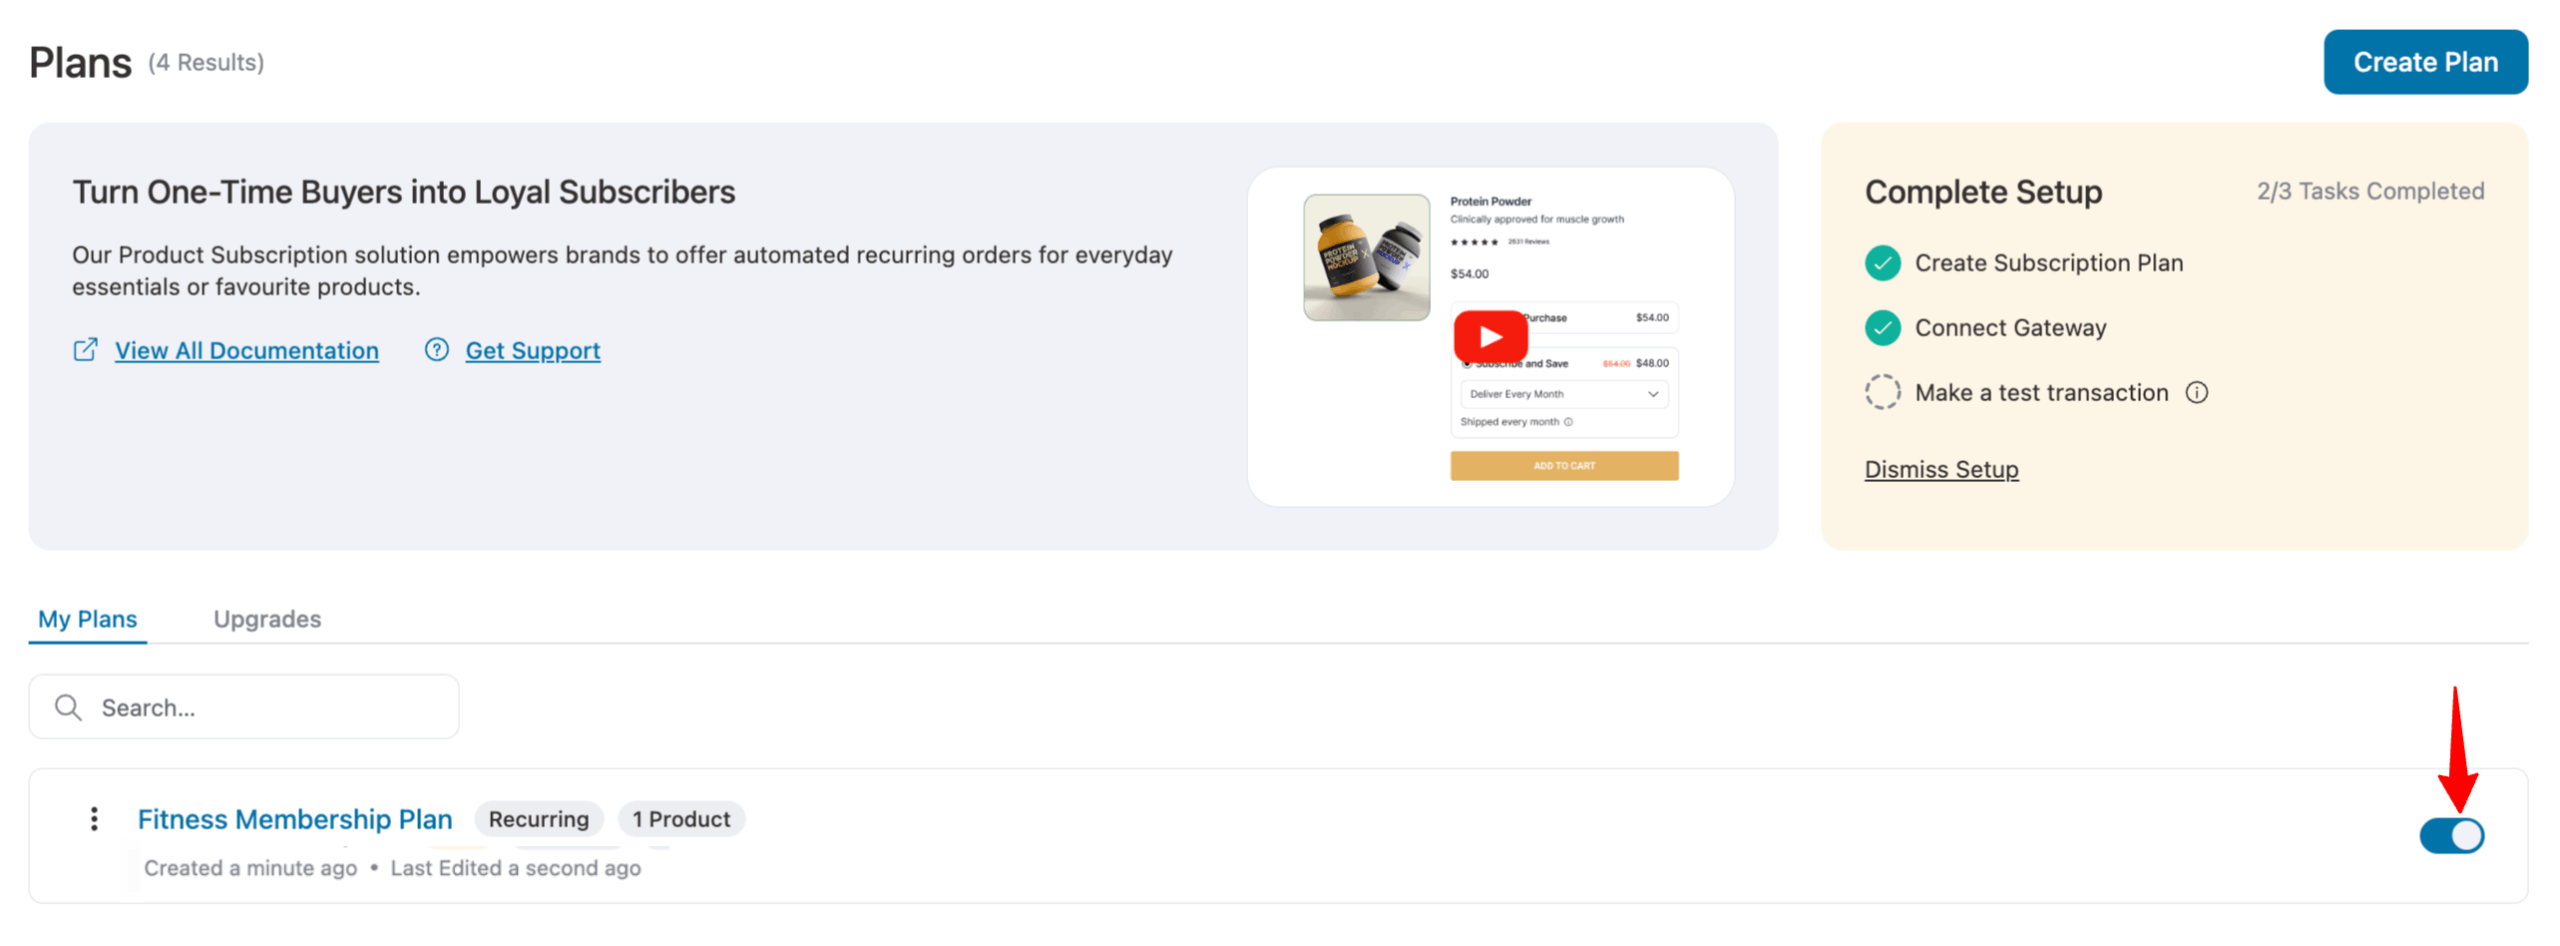
After that, ensure the plan is enabled by toggling the button.
That’s it! You’ve successfully set up the Sublium plugin with Stripe, allowing your store to start processing subscription payments.

