This guide outlines the process of connecting the Stripe payment gateway to the Sublium plugin.
How to Connect Stripe Payment Gateway With Sublium
Follow these steps to easily configure and connect Stripe for seamless payment processing.
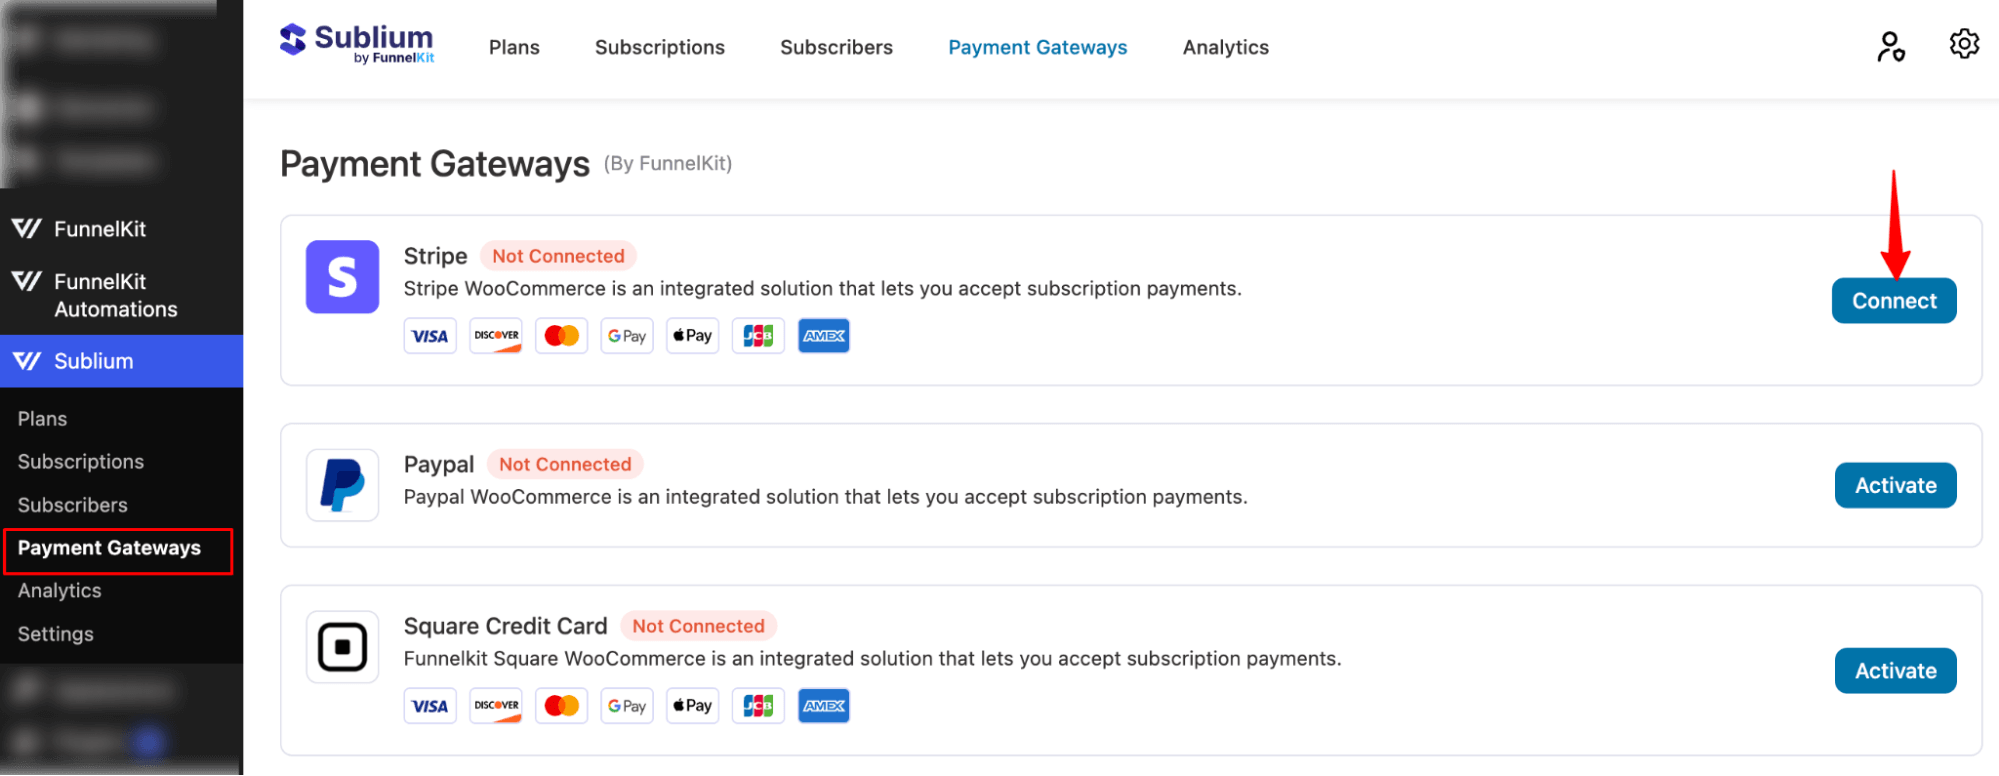
Step 1: Access the Payment Gateway Section
- In Sublium, navigate to the Payment Gateway section.
- Click on the Connect button to initiate the connection process.
Step 2: Log In to Stripe
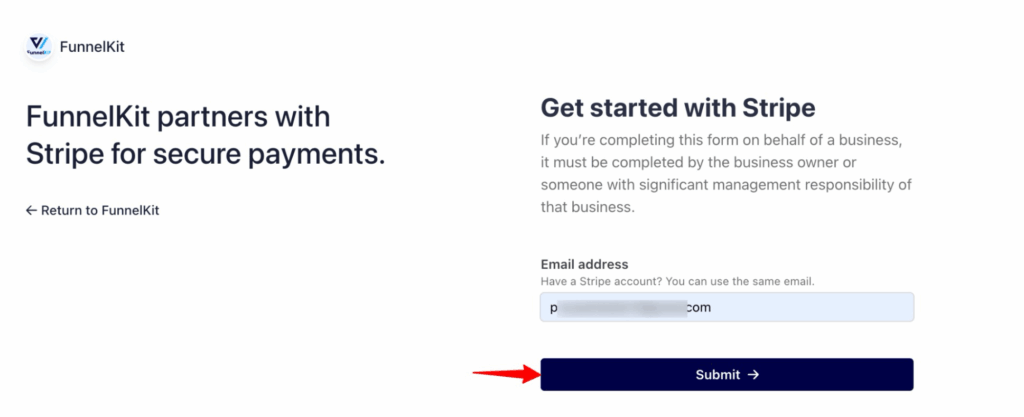
- You will be redirected to the Stripe login page. Enter the email address and hit submit.
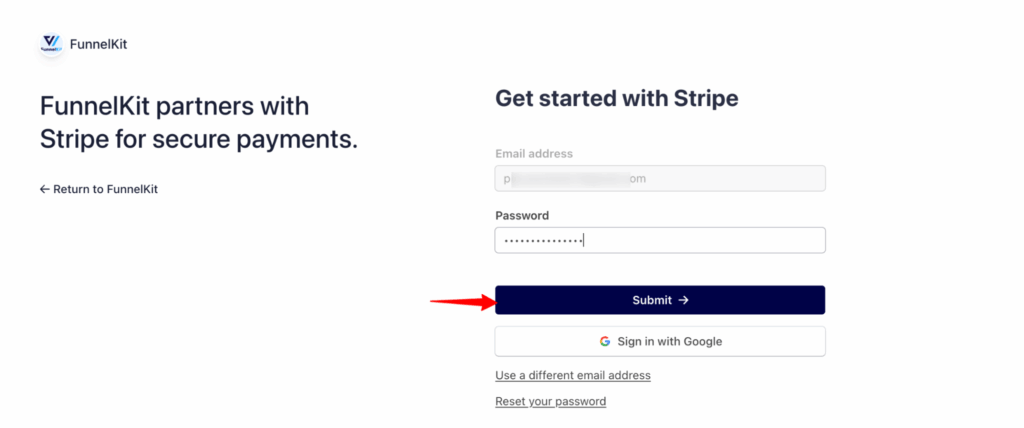
- Enter your email address and password to log in to your Stripe account.
Step 3: Enter the OTP (One-Time Password)
- After submitting your login credentials, you will be prompted to enter an OTP (One-Time Password).
- Check your email or mobile device for the OTP, then enter it in the provided field.

Step 4: Select Your Stripe Account
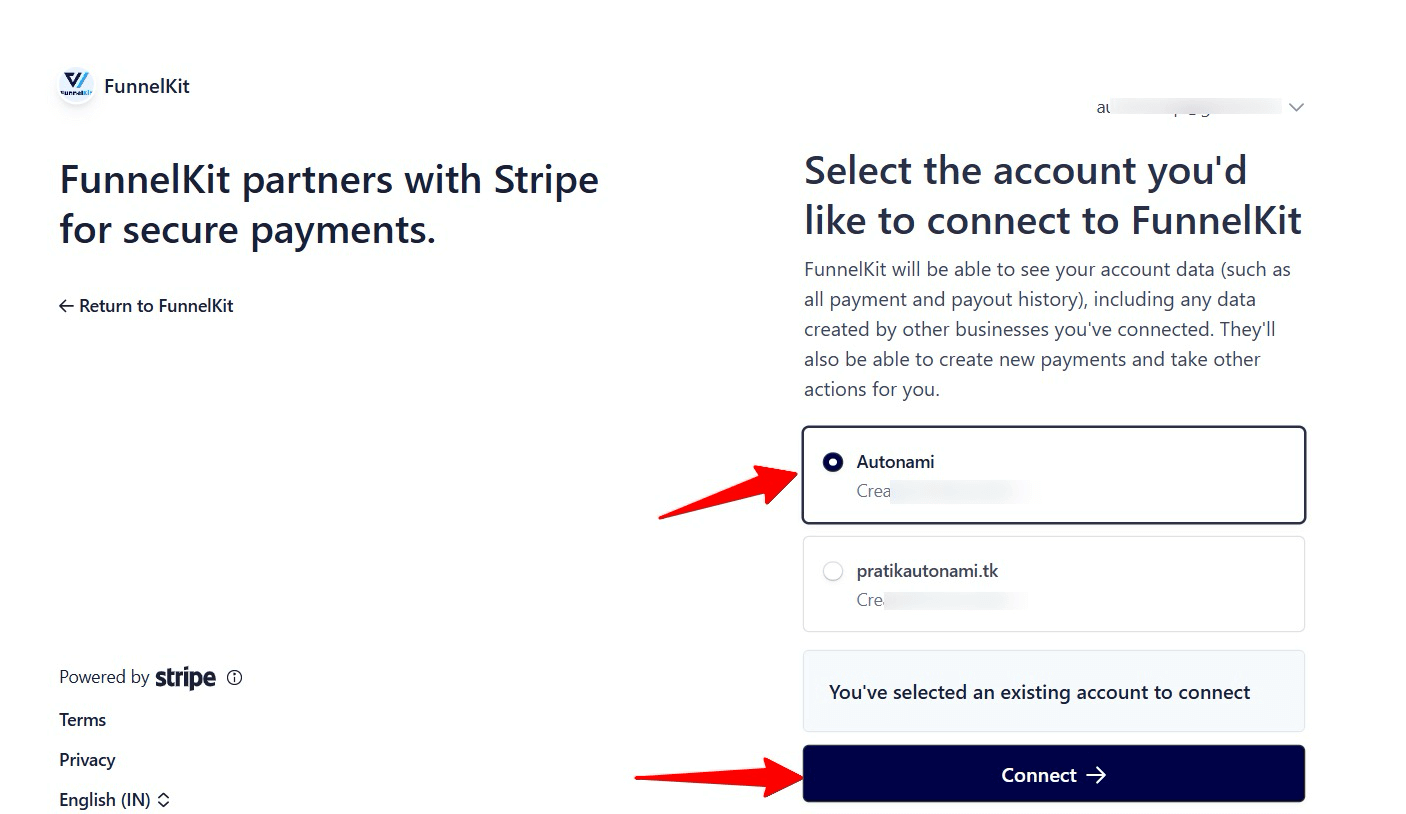
- After verifying the OTP, you will be asked to select your Stripe account.
- Choose the account you wish to connect.
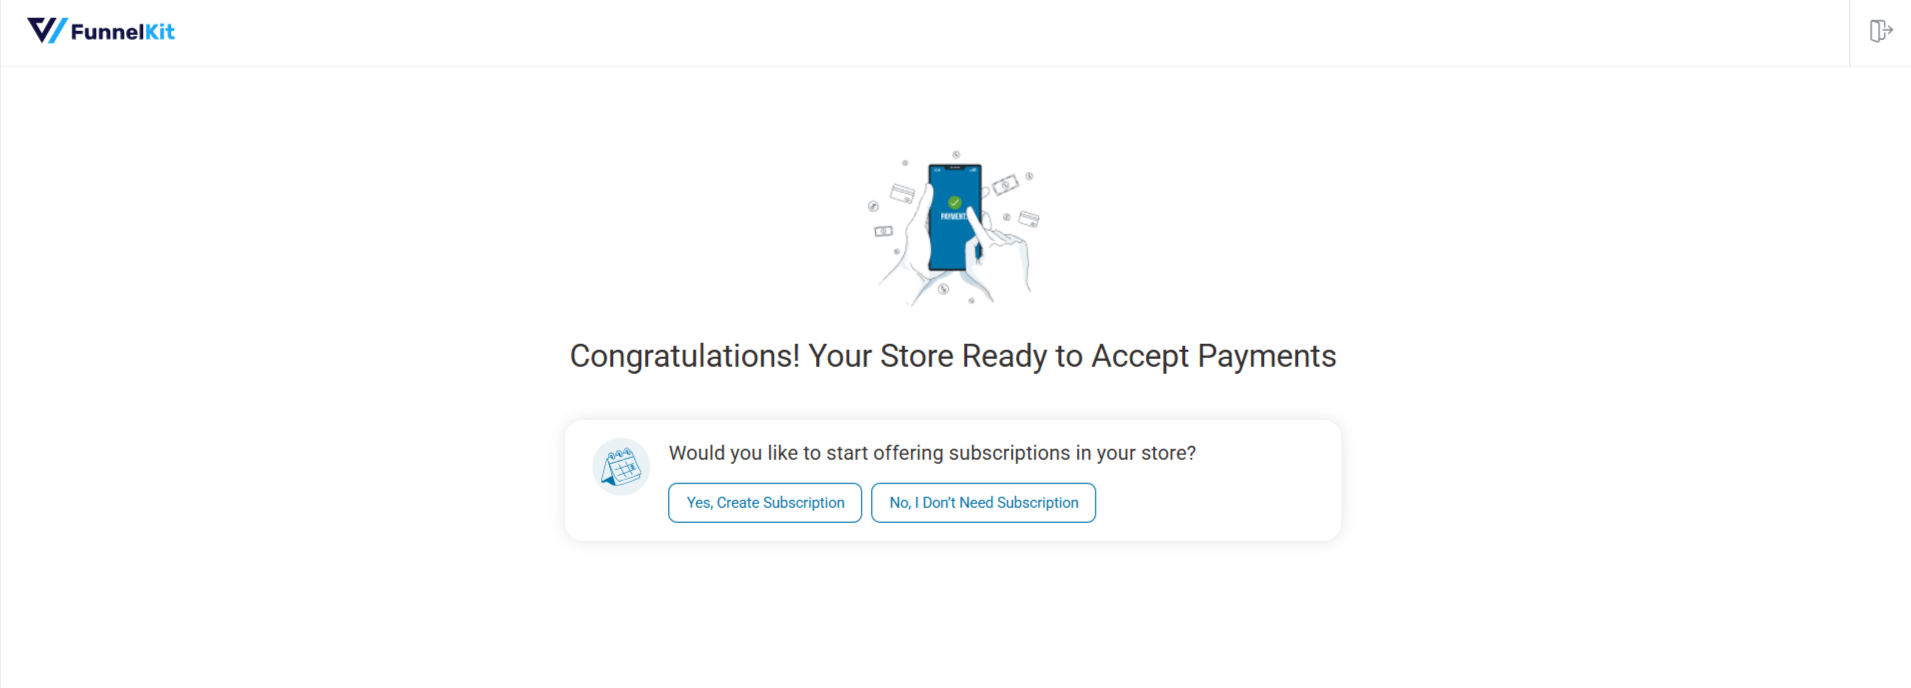
Step 5: Enable payment methods, Stripe Webhook & Express Checkout
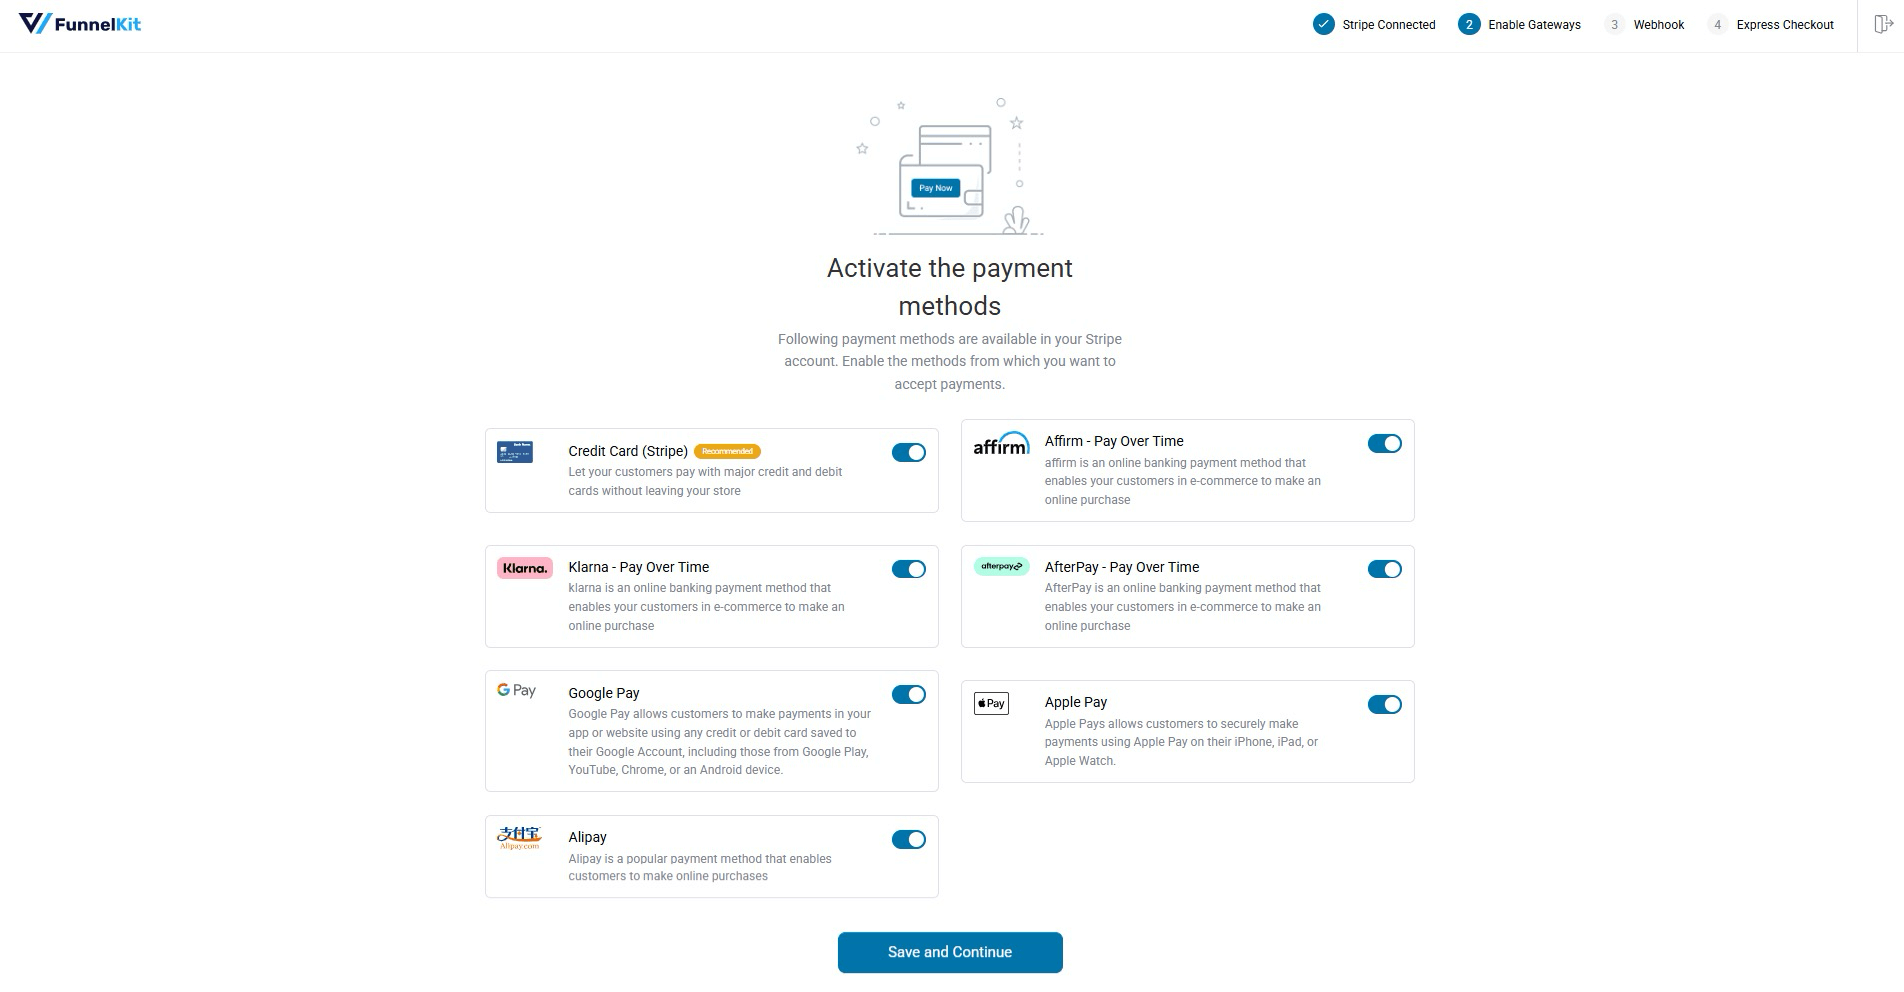
Now, turn on the toggle button to enable all the payment options you need. This option will allow your customers to pay with major credit and debit cards.
Then click on Save and Continue.
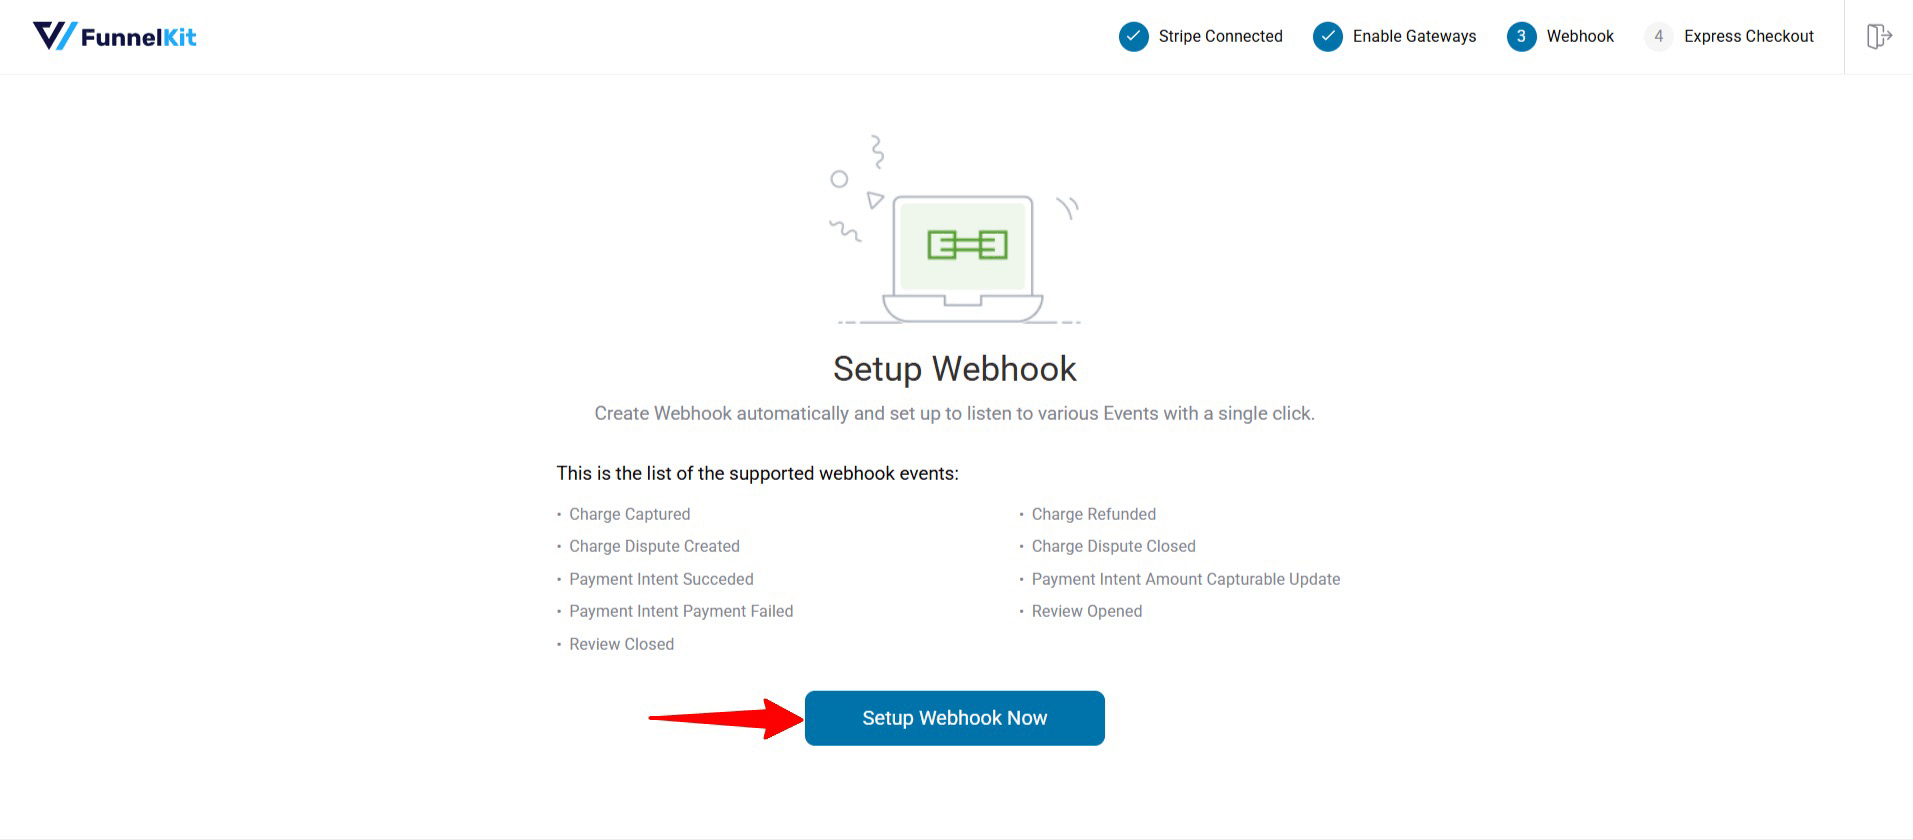
Next, you need to create a webhook. To do that, click on Setup Webhook Now. Stripe Gateway for WooCommerce by FunnelKit will take care of everything for you.
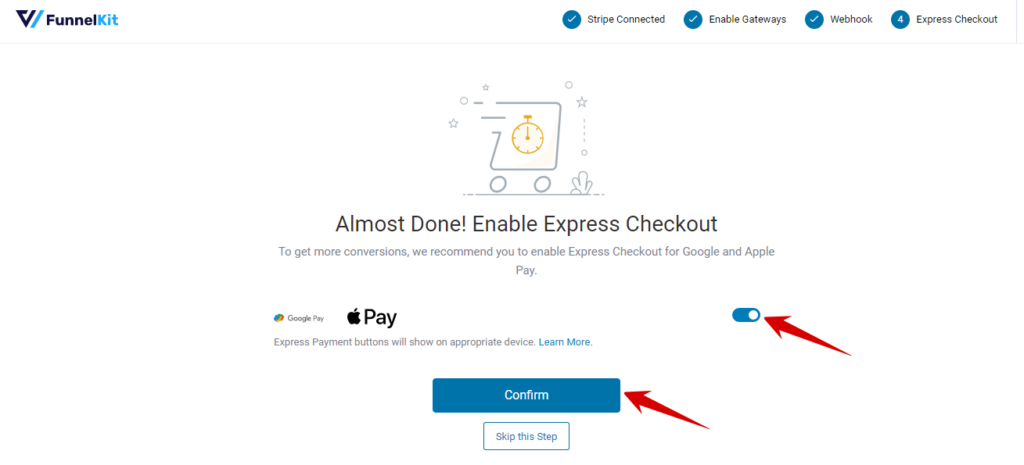
To enable the Express Checkout, turn the toggle button on and then hit Confirm.
Lastly, you need to click on choose the mode, whether test or live, and then save the settings.
Note: It’s recommended to check the whole process with test mode first.
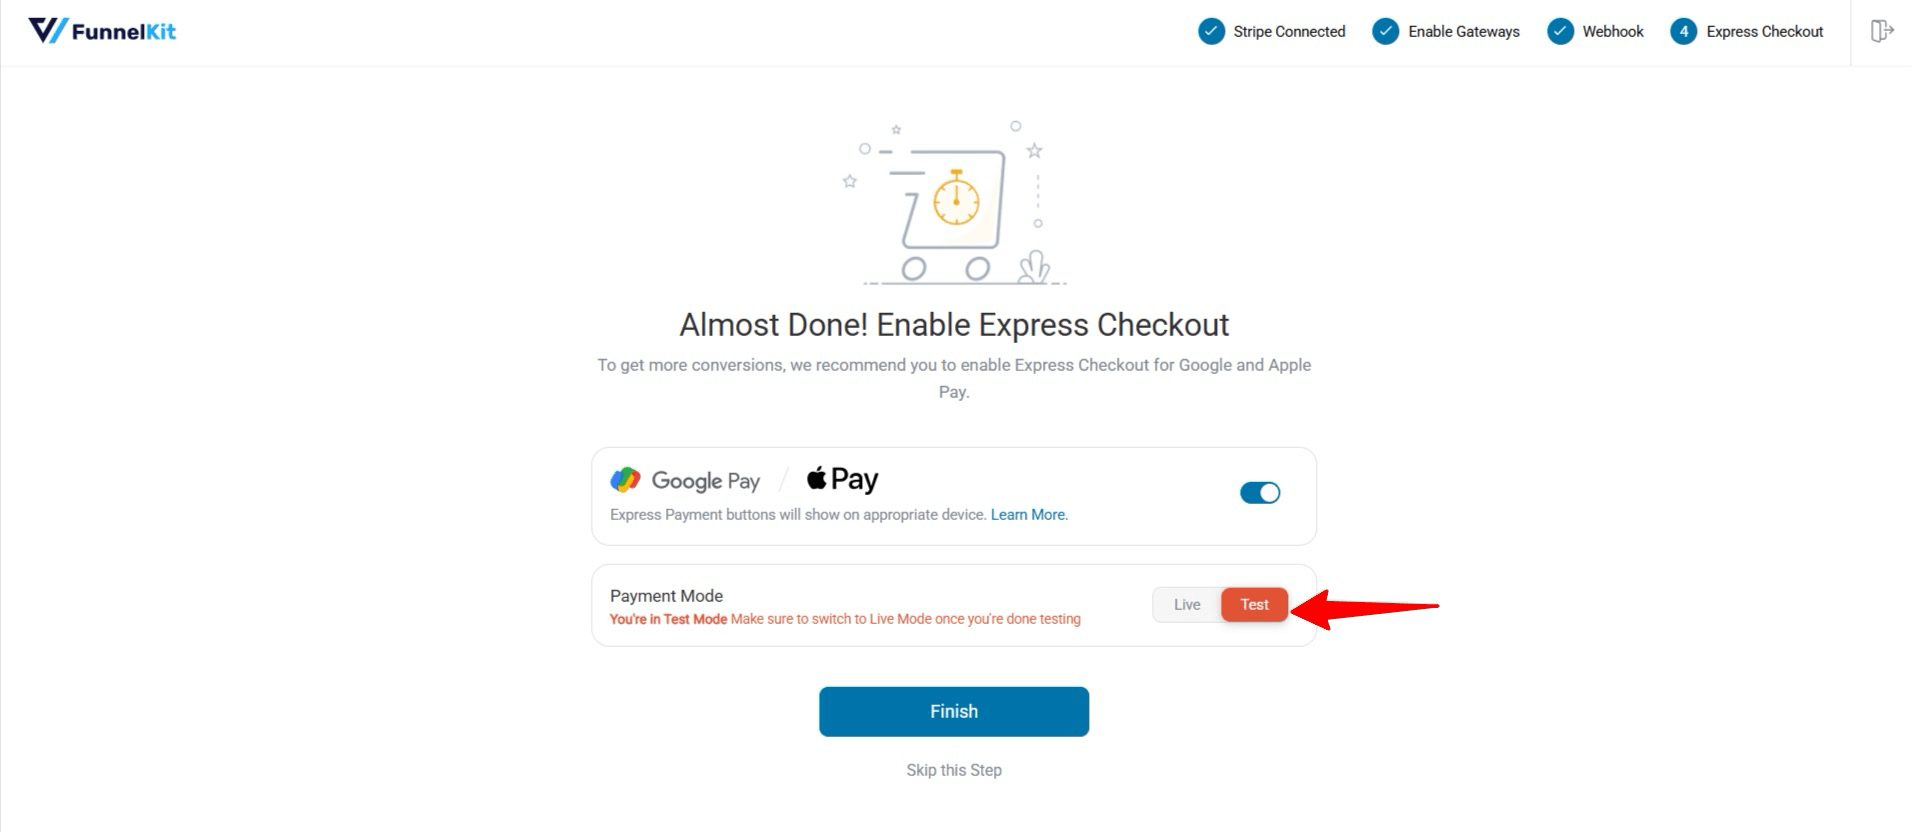
Finally, hit Finish to complete.
Step 6: Configure Stripe Settings
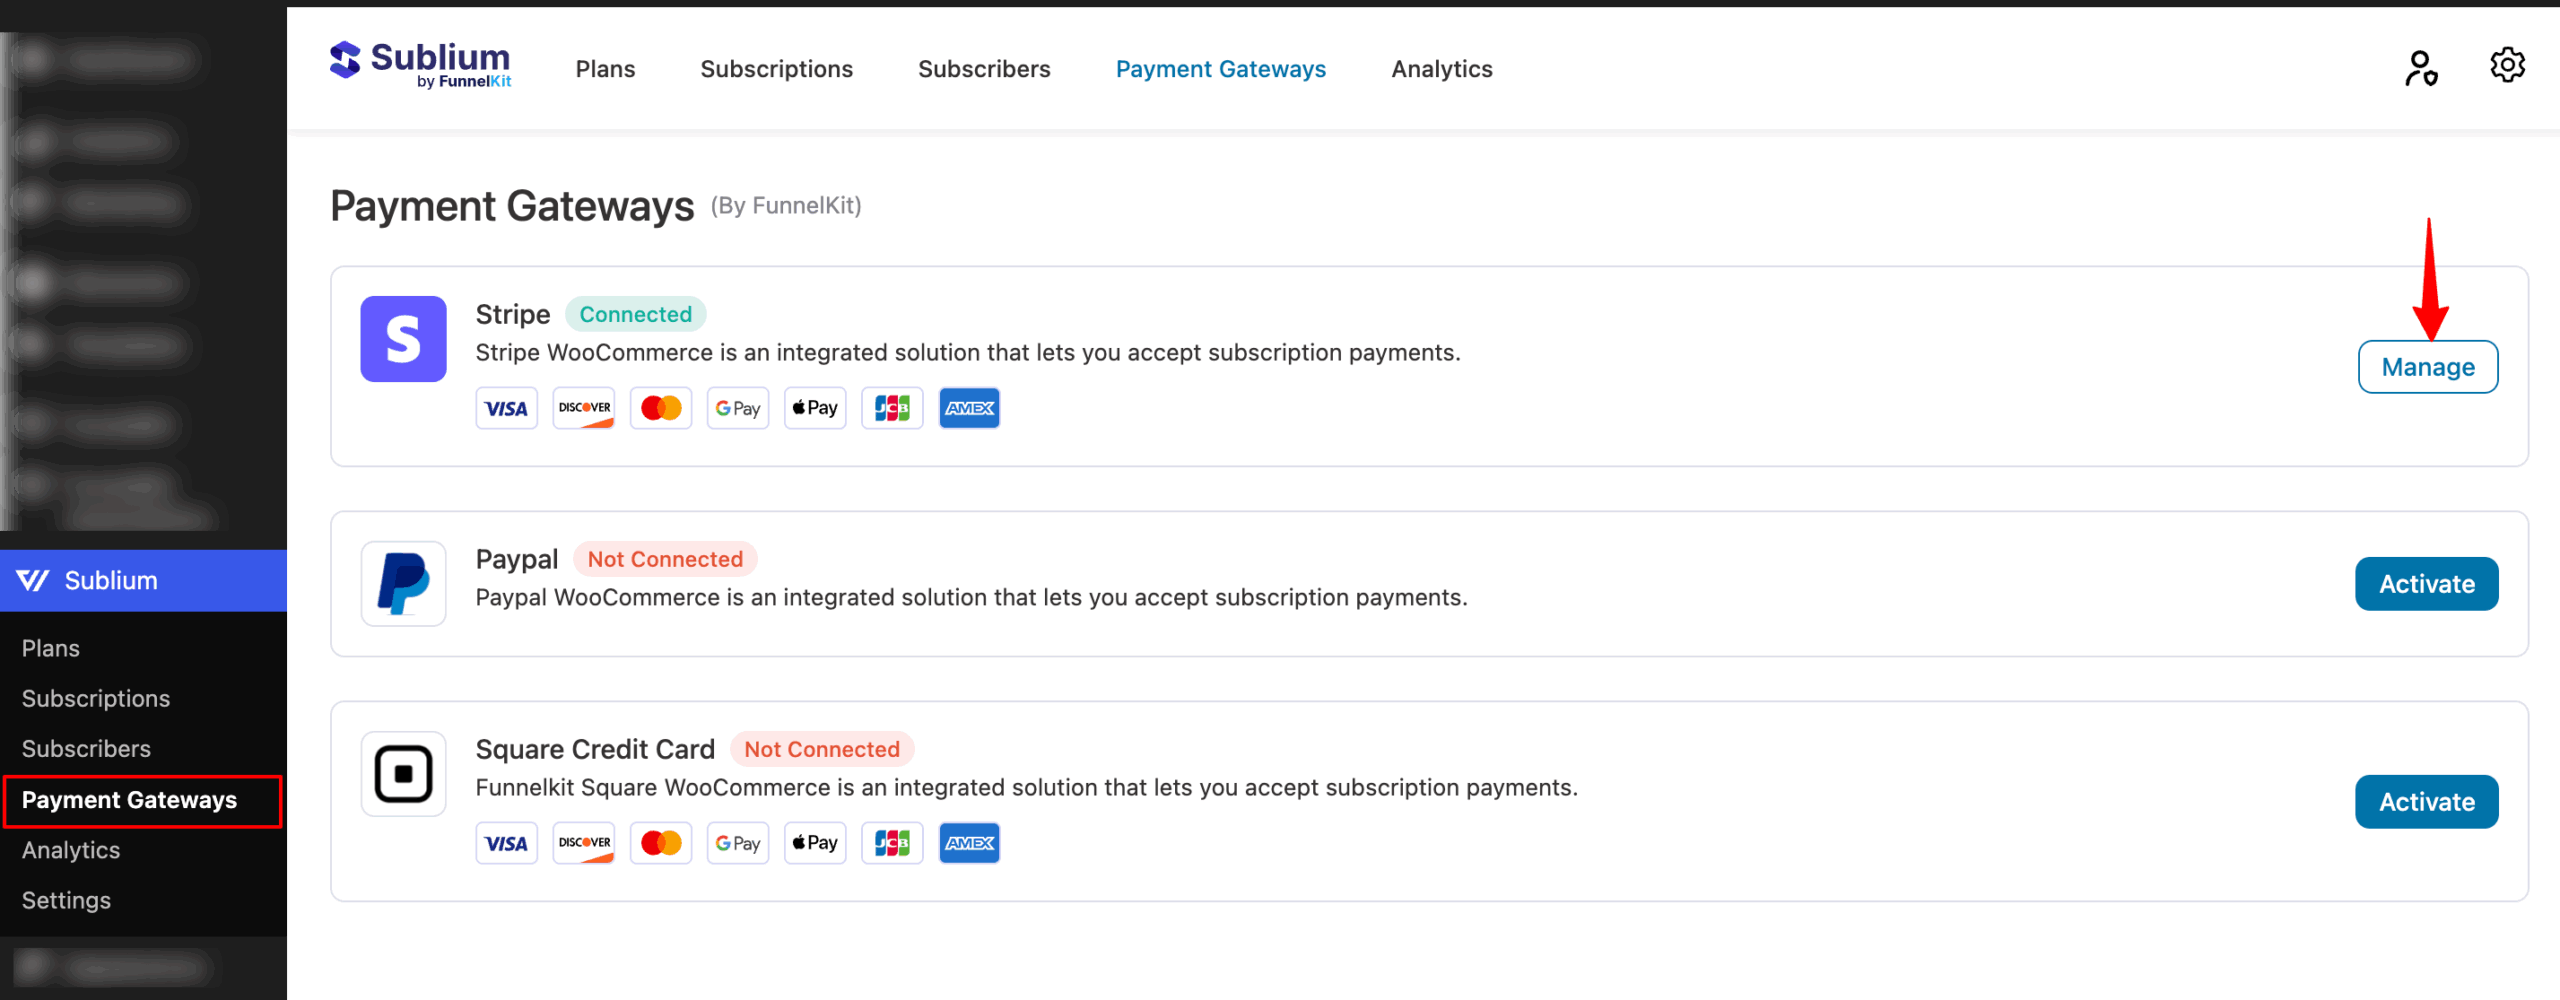
To configure the Stripe settings, visit the Payment Gateway page and click the Manage button next to Stripe.
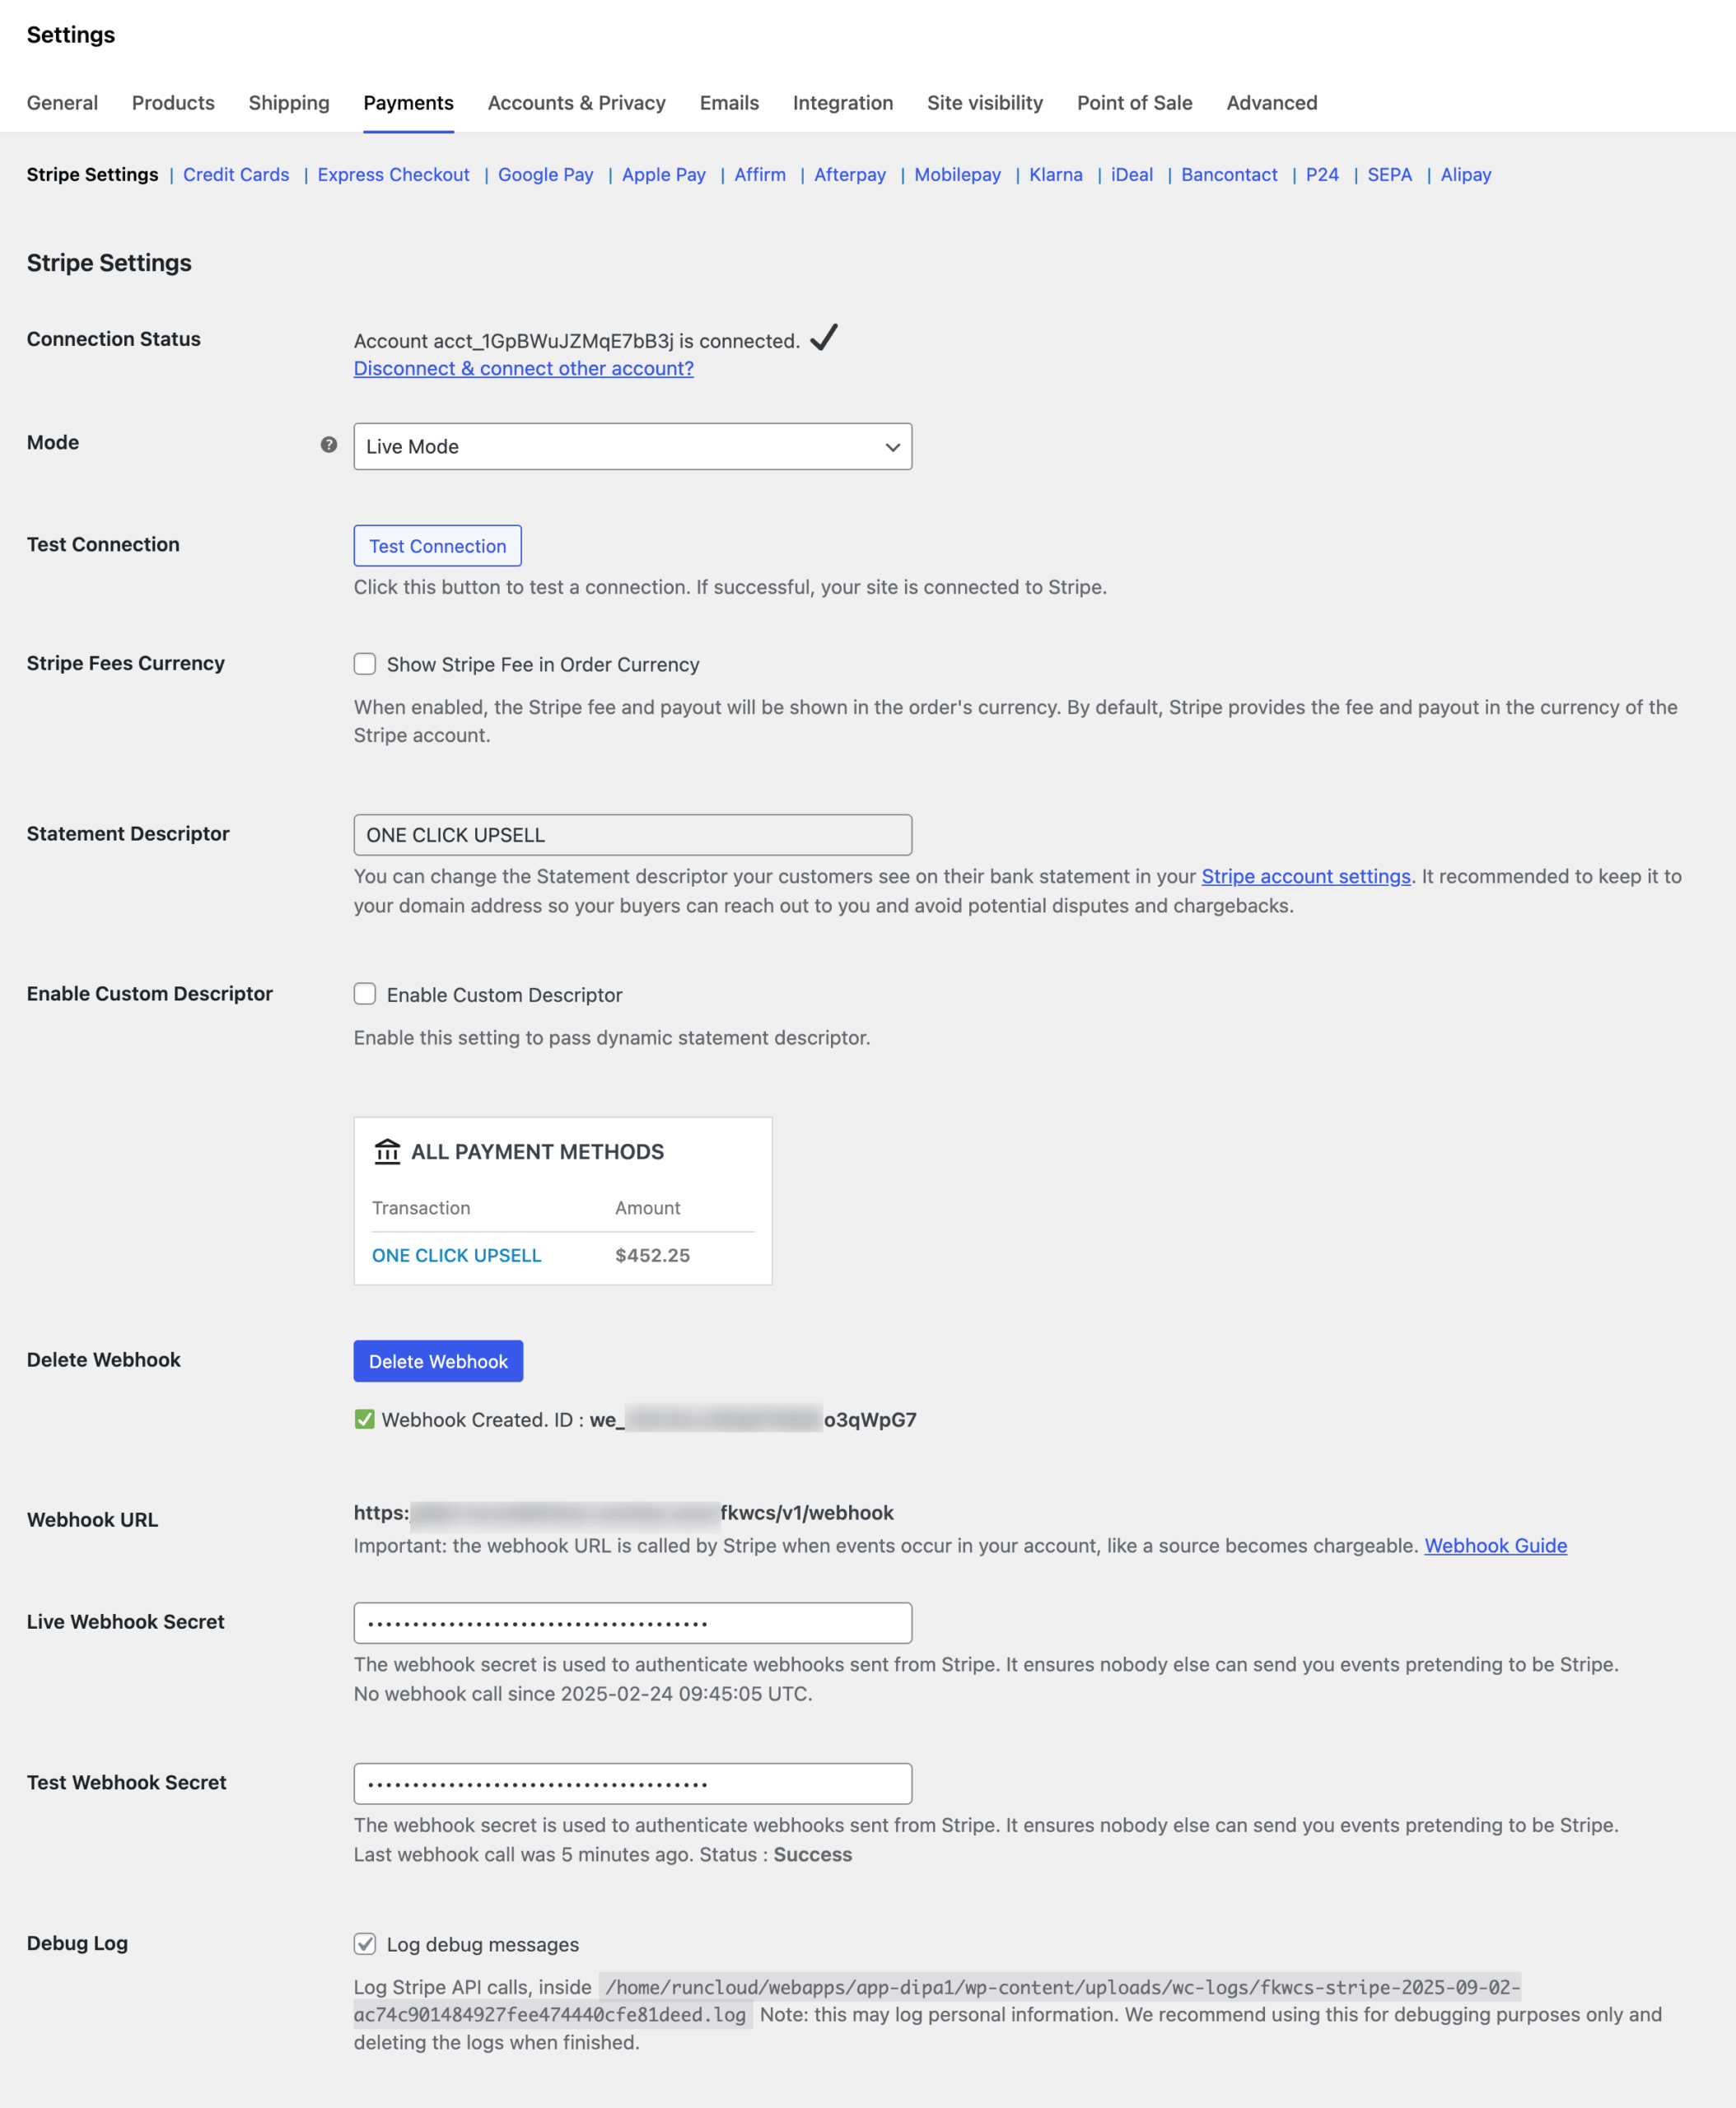
Once you click the Manage button for Stripe, you will be taken to the Stripe Settings page, where you can configure the following options:
- Connection Status:
- Check if the Stripe connection is active.
- Check if the Stripe connection is active.
- Mode:
- Set the gateway to Live or Test mode, depending on whether you’re processing live or test transactions. After testing on this settings page, make sure to set the mode to Live Mode.
- Set the gateway to Live or Test mode, depending on whether you’re processing live or test transactions. After testing on this settings page, make sure to set the mode to Live Mode.
- Test Connection:
- Test the Stripe connection to ensure it is working properly.
- Test the Stripe connection to ensure it is working properly.
- Currency Settings:
- Set the Stripe currency to your preferred currency.
- Set the Stripe currency to your preferred currency.
- Webhook Configuration:
- Configure webhooks for Stripe and set the webhook secrets.
- Configure webhooks for Stripe and set the webhook secrets.
- Debug Logs:
- Enable or disable debug logs to troubleshoot any issues with the Stripe integration.
- Enable or disable debug logs to troubleshoot any issues with the Stripe integration.
Note: After testing on this settings page, make sure to set the mode to Live Mode.
By following the above steps, you can easily manage and configure the payment gateways within Sublium.

