This guide will help you install and activate the FunnelKit Sublium plugin on your WordPress site.
Follow the steps below to install, activate, and set up your license key for Sublium.
Download and Install the Plugin
When you purchase Sublium, you’ll receive a zip file containing the plugin files you need to install and activate:
- Sublium
- Sublium Pro
You can download these files directly from your Sublium account.
Step 1: Download the plugin files from your account
Log in to your Sublium account.
Find and download both the plugin files associated with your purchase.
[[image – needed]]
The files will be downloaded to your system in .zip format.
Step 2: Install Sublium Subscription lite version
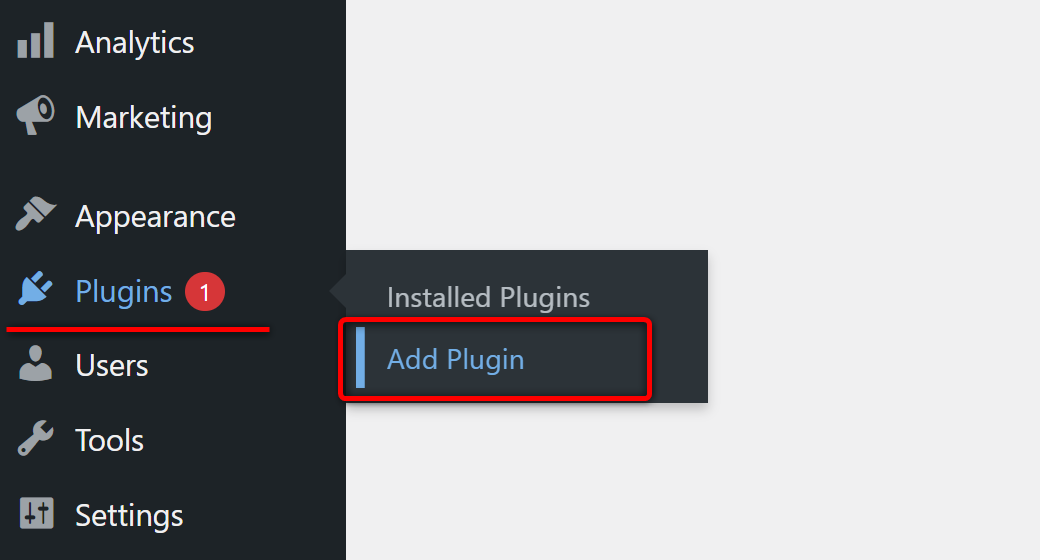
Go to your WordPress Dashboard and navigate to Plugins > Add New.

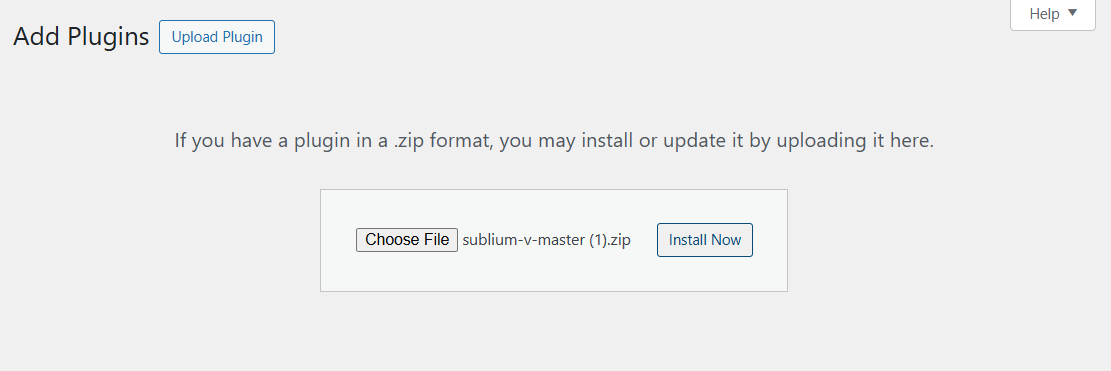
Upload the plugin here and click on Install Now.

Once the installation is complete, click Activate to activate the plugin.

This will install the Sublium base plugin.
Step 3: Install Sublium Pro
Follow the same process to install and activate the Sublium Pro, too.
Once both the plugins (Sublium and Sublium Pro) are installed and activated, you are ready to proceed with the license activation.
Step 4: Activating the Sublium License
To activate your Sublium Pro license, go to your Sublium account, locate your license key for the plugin. Copy the license key provided for your purchase.
[image]
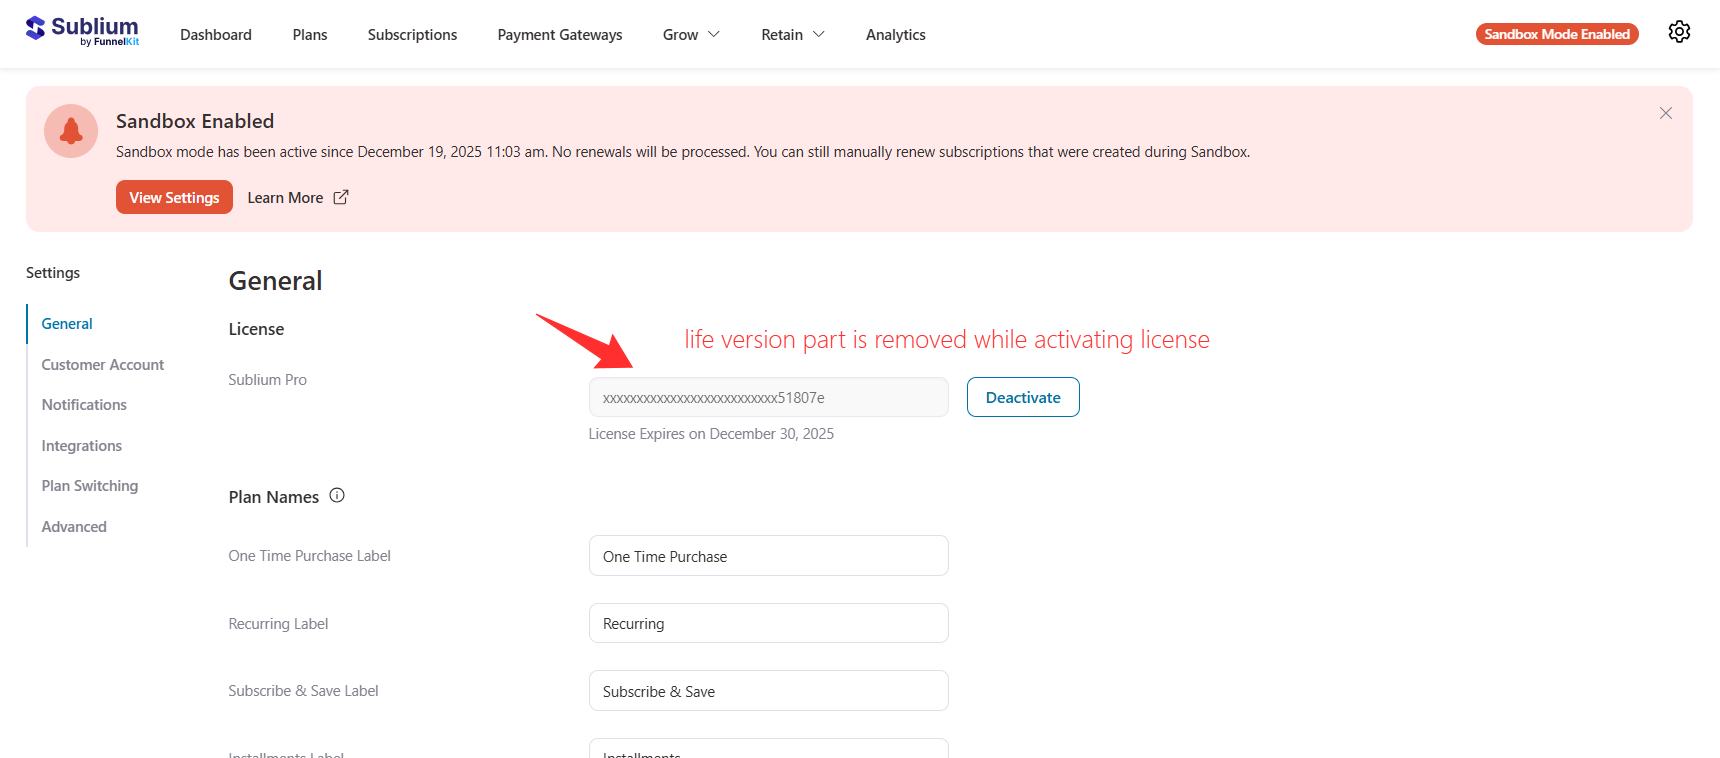
Next, go to the Sublium > Settings inside your WordPress Dashboard.
Under the General settings, paste the license key you copied into the provided field.

Click on Save to ensure your settings are applied.
You’ve successfully installed and activated Sublium on your website. Now you can start configuring your subscription plans, payment gateways, and other settings to begin offering subscription-based services.
If you run into any issues or need further assistance, don’t hesitate to reach out to our support team.

