In this guide, we will walk you through creating a Subscribe and Save plan. This is ideal for setting up automatic payments and deliveries for physical goods.
We will also explain how the Sublium Subscribe and Save plan works on the storefront.
For instance, we will define multiple subscription plans for a Skin Care Kit, such as the Beaticare Professional Facial Kit.
Below are the details of the plans we will create.
| Plan Type | Billing Frequency | Price | Savings vs One-Time |
| One-Time Purchase | No renewal | $30 | N/A |
| 15-Day Subscription | Every 15 days | $27 | ~10% |
| Monthly Subscription | Every 30 days | $24 | ~20% |
You can follow the process below to create any type of Subscribe & Save plan.
How to Create a Subscribe & Save Plan
Once all the products are set for which you want to create the Subscribe & Save plan, follow these steps:
Step 1: Create a Subscribe & Save Plan
Go to your WordPress Dashboard and navigate to Sublium Subscriptions ⇒ Plans.
You’ll get an onboarding screen. Scroll down and click on the “Create Plan” button.
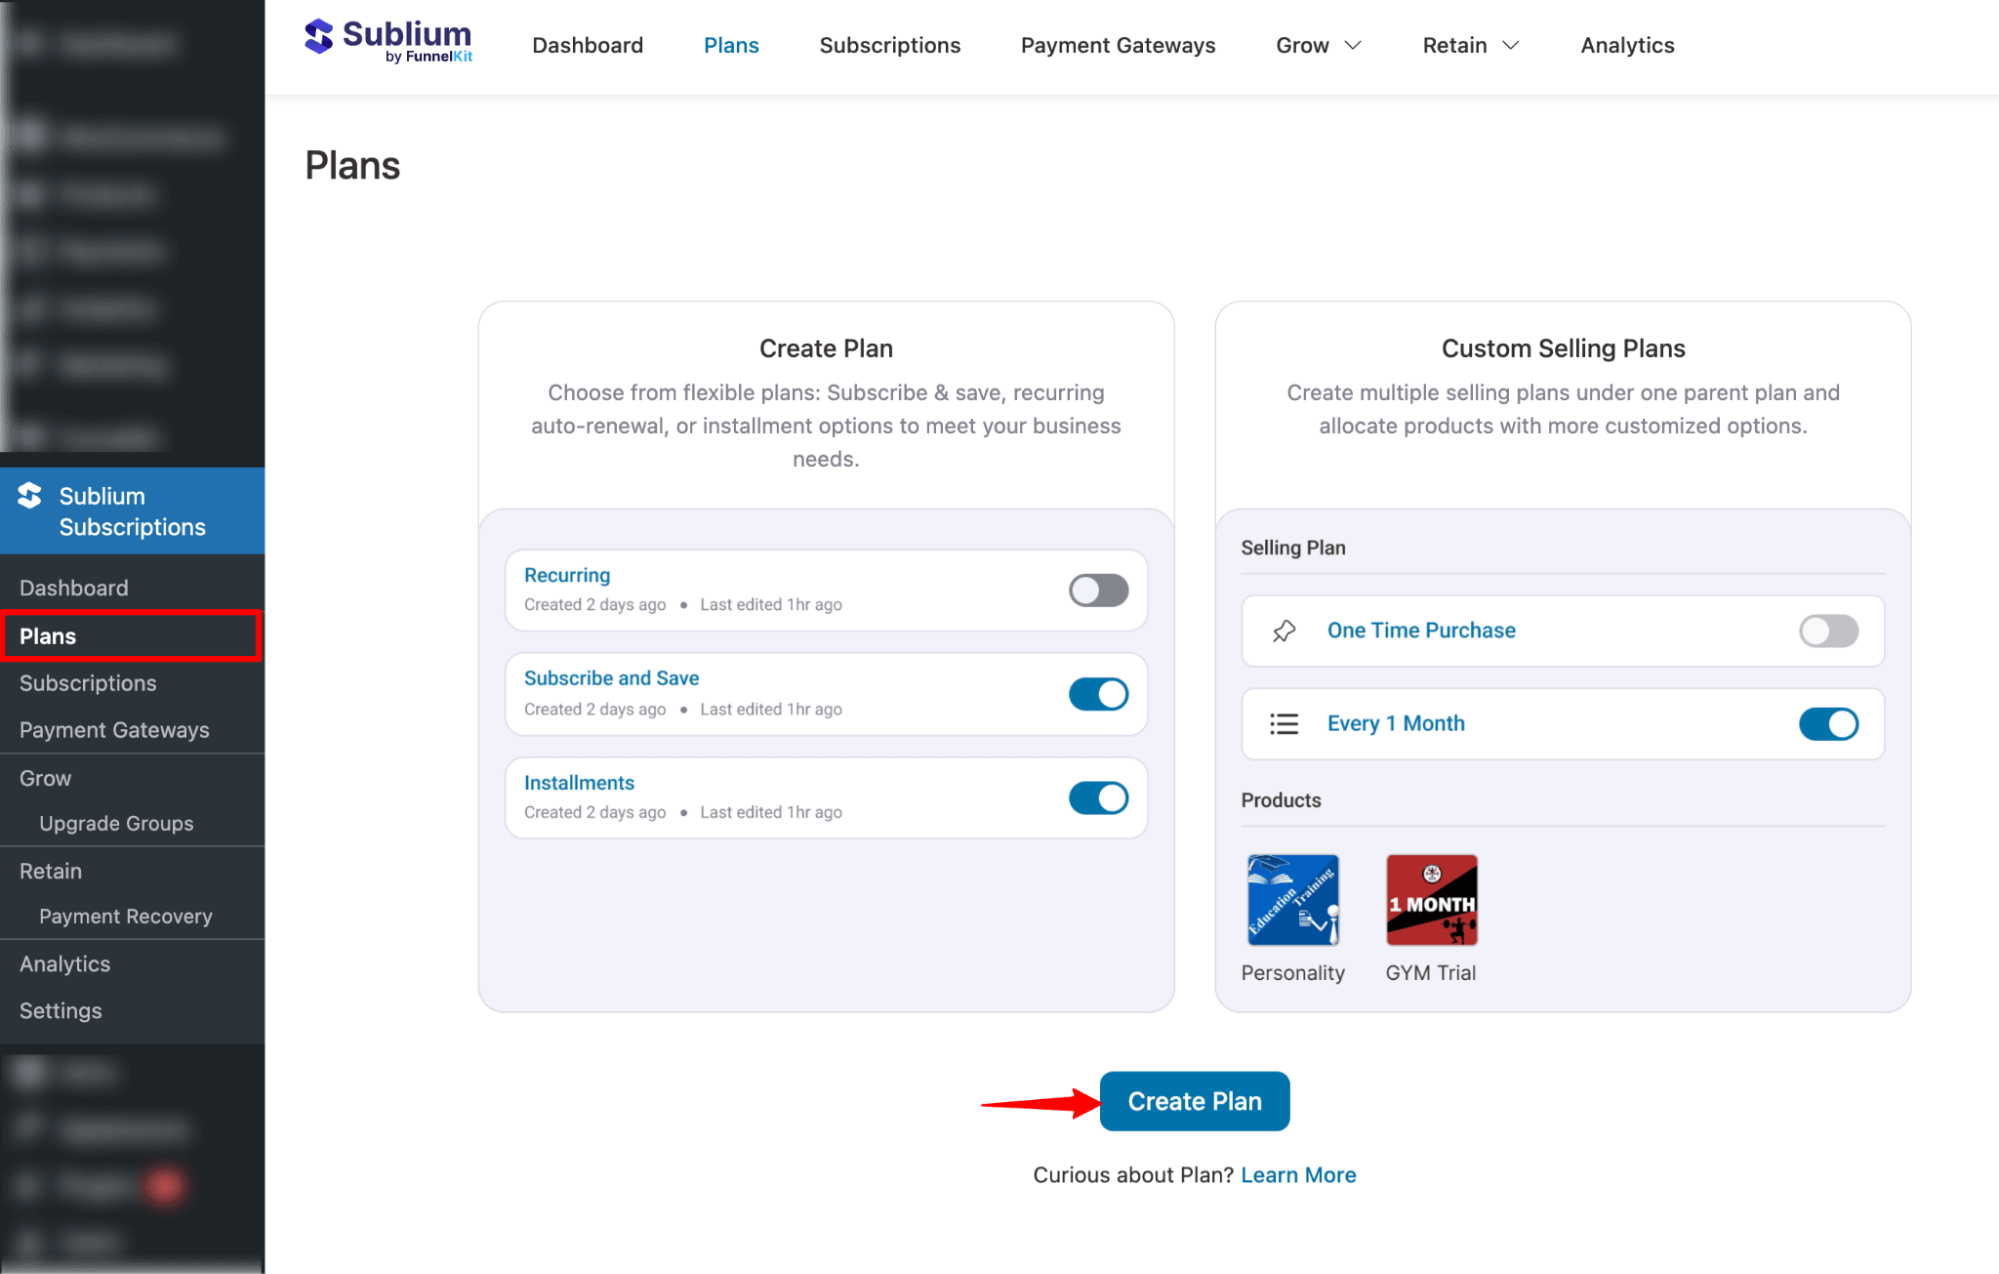
You will be presented with three plan types to choose from:
- Recurring
- Subscribe and Save
- Installments
Since we’re creating a Subscribe & Save Plan, select “Subscribe & Save Plan” and enter a descriptive name for your plan (e.g., “Skin Care Subscription”).

Once done, click on “Create” to create your subscription plan.
Step 2: Configure the Subscribe & Save Plan
You will land on the “Selling Plans” tab and find a default monthly plan.
To start configuring the selling plan, click on the plan name.

Let’s start configuring the subscription plans with the following options:
- Frequency: This option determines the frequency at which payments will be charged. Select the appropriate frequency based on your business model.
- Interval: Specify the billing interval in days, weeks, months, or years. It determines how often the customer is charged. For monthly billing, set the interval to 1 month. For a 15-day cycle, set the interval to 15 days.
- Plan Name: Give your subscription plan a clear and descriptive name for easy identification. Example: “ Monthly Subscription”.

- Discount Type: You can set a discount in either a fixed amount or a percentage. Here, we are setting up a 20% discount.

- Free Trial: In the free trial tab and add the number of days for which you want to offer a free trial. We won’t be offering any free trial here.
- Sign-up fee: You can charge a sign-up fee either as a fixed amount or a percentage of the plan price.
Note: We are not providing a free trial or sign-up fee. But you can set it depending on your product.

- Expiry: Define if and when the subscription will expire:
- Until User Cancels: The subscription continues until the customer cancels it.
- After X Successful Payments: Set a specific number of billing cycles after which the subscription expires (e.g., 6 or 12 payments).

- Plan Information: This section shows the selling plan breakdown below after the user selects it. Here are two parts:
- Pricing Breakdown: After selecting a selling plan, customers can view details like frequency, pricing, free trial, signup fee, and expiry on the product page.
- Additional Description: You can add additional information in this section.

Once done, click on Update to save your configuration.
Then you must enable the plan by toggling the button and confirming it.

One of your Subscribe & Save plans is now ready.
Step 3: Create multiple Subscribe & Save plans
To add more Subscribe & Save selling plans, hit the button “Add Selling Plan” and then configure it like you did in the previous text.
Here, we have a 15-Day Subscription with a 10% discount.

Make sure to enable the plan as well.

You can add as many plans as you want with different frequencies and intervals.

Step 4: Assign selling plans to products or to categories, tags and brands
Now move to the Products tab to assign the specific products or categories for which these subscription plans will be available.
Assign a selling plan to specific products
To assign any specific product, select the “Apply Selling Plan to Specific Products” option and hit Add Product.

Next, search for and add the product.

After adding the product, you will see all the subscription plans along with the one-time purchase option.
Each plan will display its applied discount and final offer price based on the configurations you set earlier.
From here, you can modify the discount type, adjust the discount amount, or even exclude specific plans for this product.

To disable the one-time purchase option, simply uncheck the box labeled ‘Allow One Time Purchase’ and confirm your changes.

Apply Selling Plan to Categories, Tags, and Brands
To set up selling plans for certain categories, tags, and brands, select the option “Apply Selling Plan to Categories, Tags, and Brands” and hit Switch.

Next, search for, select, and click Add to add the categories.

You get three options:
- Allow Selling Plan for Specific Categories: Search and add the categories where you want to apply the subscription plan.
- Allow Selling Plan for Specific Tags: Search and add the tags where you want to apply the subscription plan.
- Allow Selling Plan for Specific Brands: Search and add the brands where you want to apply the subscription plan.

To exclude any product from the selected categories, tags, or brands, search for and add it in the ‘Exclude Products from Selling Plan’ field.”

Finally, hit Save to update.
That’s it. Now your Subscribe and Save plan is ready.
Storefront Purchase Flow Of Subscribe & Save Plan
Once you assign products, categories, brands, and other items to their Subscribe and Save Plan and complete the selling plan setup, all eligible subscription options will automatically appear on the product page for customers.

Users can simply select their preferred plan and continue to checkout.

If you’re using a side cart like FunnelKit Cart, here’s how the subscription options will appear in the side cart:

This is how the Subscribe & Save plans look on a default WooCommerce cart page:

Next, users can check out with any of the available payment methods:

This is what the thank you page looks like after a successful purchase.


